 Gateway 网关
学习目标
在这里,你将系统学习了解 Gateway 网关的具体代码实现
我们将以最简单直接的方式为您呈现内容!
# 🍜 网关
🍖 推荐阅读:
Spring Cloud Gateway -官网 (opens new window)
# 介绍
# 分类
# 🍚 Spring Cloud Gateway
# 依赖导入
- 在 memory-gateway 子服务的配置文件 application.yaml 中,导入如下依赖:
<dependency>
    <groupId>org.springframework.cloud</groupId>
    <artifactId>spring-cloud-starter-gateway</artifactId>
</dependency>
# 路由转发
- 在 memory-gateway 子服务的配置文件 application.yaml 中,添加如下配置,配置请求过滤和请求转发功能实现,实现将进入网关的请求转发到相应的服务或 URL 上:
spring:
  # 网关过滤
  cloud:
    nacos:
      discovery:
        server-addr: 127.0.0.1:8848
      config:
        import-check:
          enabled: false
    gateway:
      routes:
        - id: memory-api
          uri: http://localhost:8123
          predicates:
            - Path=/api/**
        - id: baidu
          uri: https://www.baidu.com
          predicates:
            - Path=/baidu/**
        - id: blog
          uri: https://deng-2022.gitee.io/blog/
          predicates:
            - Path=/blog/**
  main:
    web-application-type: reactive
    allow-bean-definition-overriding: true
- 我们已经成功地利用 Spring Cloud Gateway 为网关实施了一套精确的路由机制。通过以上配置文件,确保了网关接收到客户端发送的请求路径,根据预设的路由规则,迅速、准确地转发请求到相应的服务或网站上。
# 聚合文档
分别在 memory-backend-core-service 模块和memory-backend-application 模块中,导入以下坐标:
<!-- https://doc.xiaominfo.com/knife4j/documentation/get_start.html-->
<dependency>
    <groupId>com.github.xiaoymin</groupId>
    <artifactId>knife4j-openapi2-spring-boot-starter</artifactId>
    <version>4.3.0</version>
</dependency>
配置文件:
knife4j:
  enable: true
在网关模块 memory-backend-gateway 中,导入以下坐标:
 <dependency>
            <groupId>com.github.xiaoymin</groupId>
            <artifactId>knife4j-gateway-spring-boot-starter</artifactId>
            <version>4.3.0</version>
        </dependency>
配置文件:
knife4j:
  gateway:
    enabled: true
    # 指定服务发现的模式聚合微服务文档
    strategy: discover
    discover:
      enabled: true
      # 指定版本号(Swagger2|OpenAPI3)
      version: swagger2
      # 需要排除的微服务(eg:网关服务)
      excluded-services:
        - memory-gateway
到这里,使用 Gateway 实现聚合文档就很轻松的完成了,可以根据需要按需配置,推荐在这里研究学习:
🥩 推荐阅读:Spring Cloud Gateway 网关聚合 | Knife4j (xiaominfo.com) (opens new window)
访问:localhost (opens new window),即可查看到聚合 API 文档,十分方便。
# 注意事项
如果此处引用了 Gateway 请求过滤器,可能会有无权限访问的情况发生:
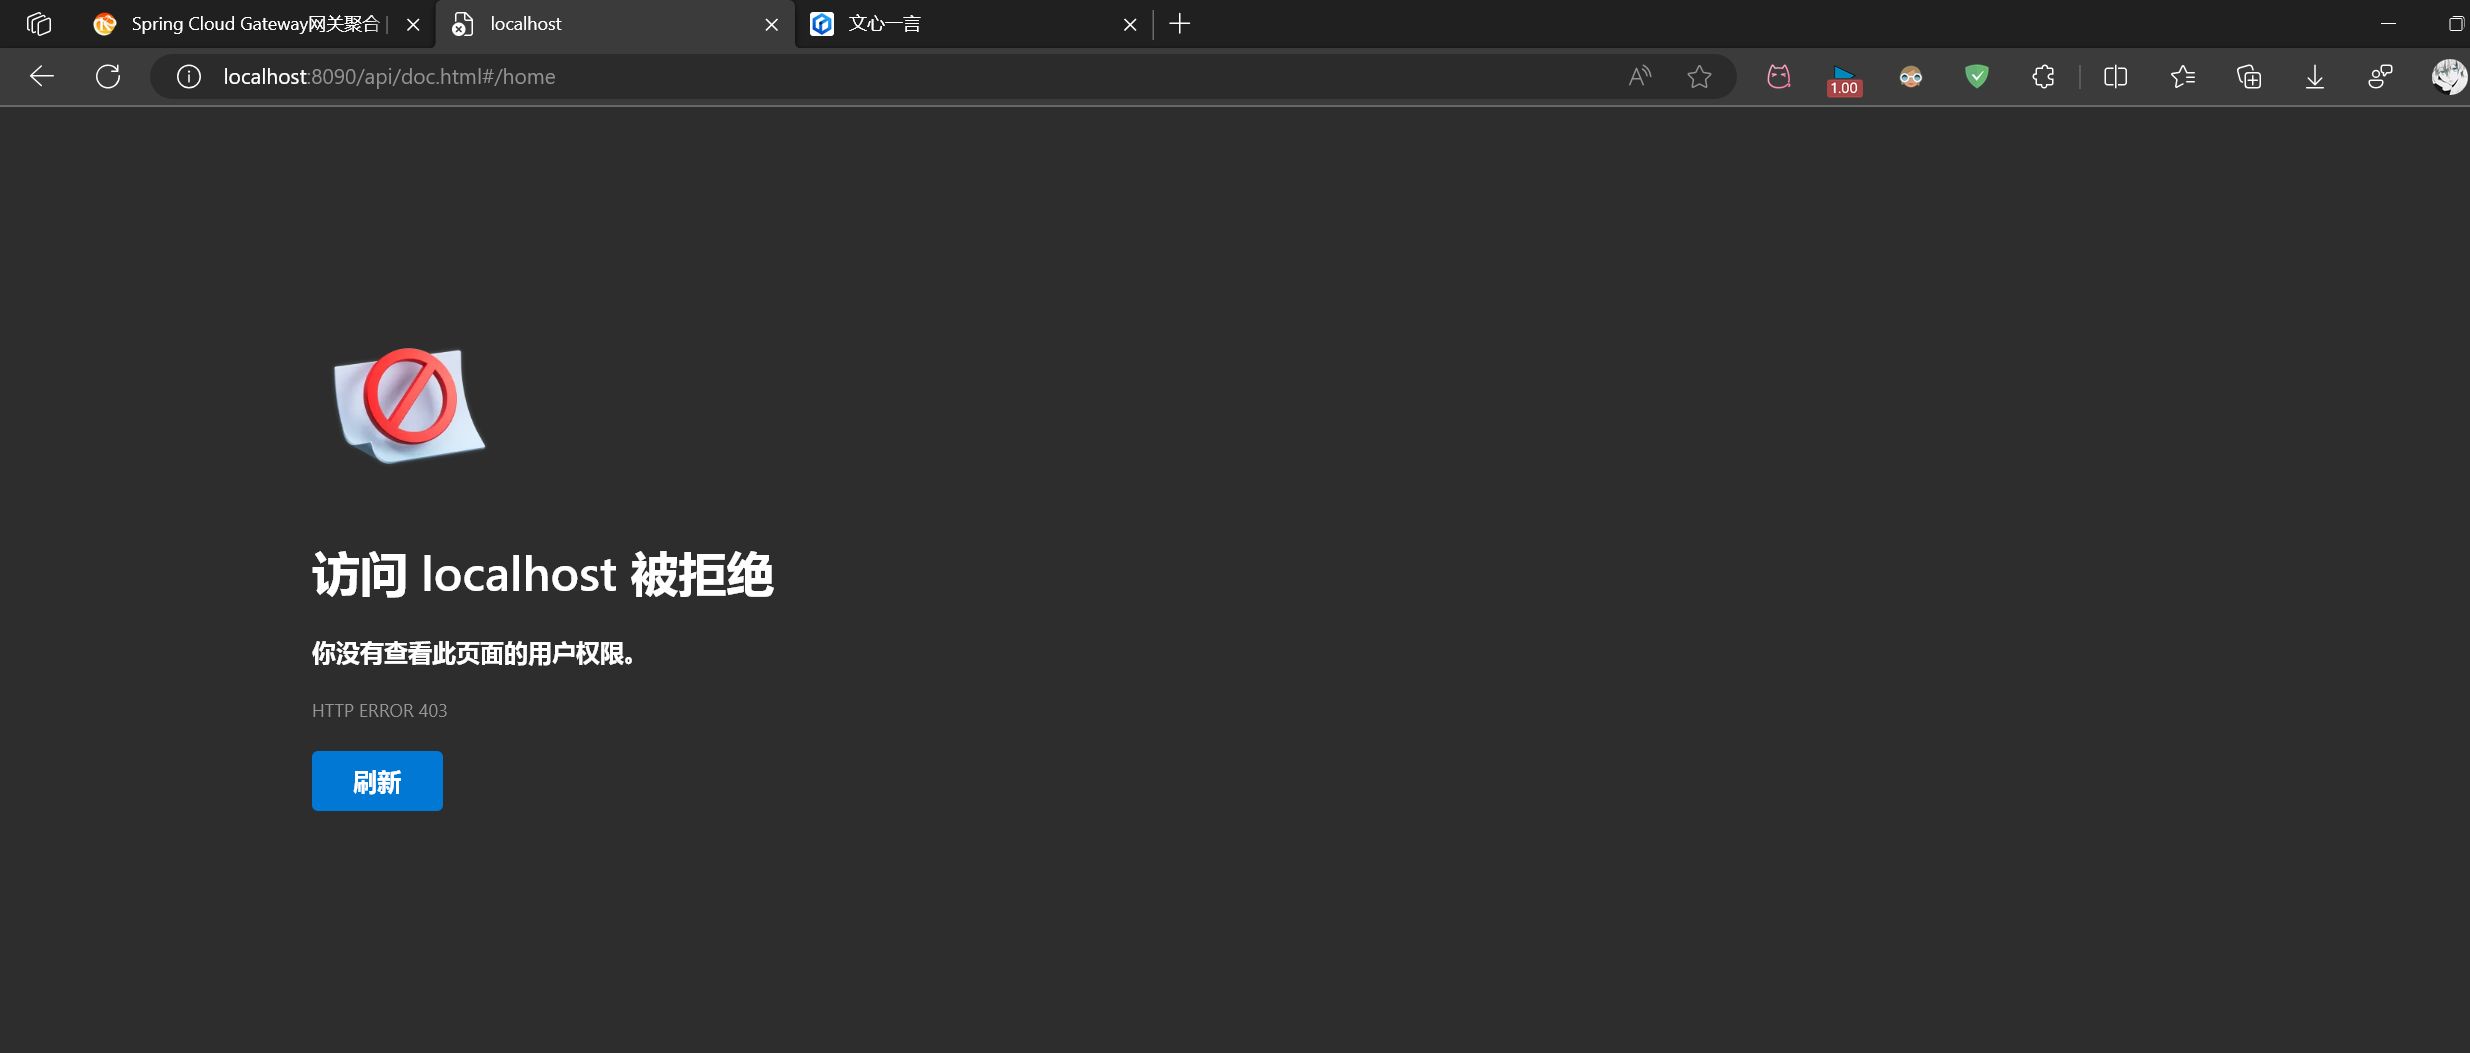
在权限校验中,选择直接放行聚合 API 文档访问:
// 2. 访问来源校验
  // 2.1. 黑白名单
  if (!IP_WHITE_HOSTS.contains(sourceAddress)) {
      // 设置错误状态码并返回
      response.setStatusCode(HttpStatus.FORBIDDEN);
      return response.setComplete();
  }
  // 2.2.内部调用
  if (antPathMatcher.match("/ **inner** /", path)) {
      response.setStatusCode(HttpStatus.FORBIDDEN);
      return response.setComplete();
  }
  // 2.3.聚合文档
  if (SWAGGER_API_DOC_HOST.contains(sourceAddress)) {
      log.info("聚合 API 文档访问,不需要校验");
      return chain.filter(exchange);
  }
# 分布式 session 登录
在网关模块 memory-backend-gateway 模块 中,导入以下坐标:
<!-- redis -->
<dependency>
    <groupId>org.springframework.boot</groupId>
    <artifactId>spring-boot-starter-data-redis</artifactId>
</dependency>
<dependency>
    <groupId>org.springframework.session</groupId>
    <artifactId>spring-session-data-redis</artifactId>
</dependency>
配置文件:
# server
server:
  address: 0.0.0.0
  port: 8101
  servlet:
    context-path: /api
    # cookie
    session:
      cookie:
        max-age: 2592000
        path: /api
# 权限校验
API 网关处理用户请求:
  // 1. 用户发送请求到 API 网关, 获取请求日志
  ServerHttpRequest request = exchange.getRequest();
  log.info("请求唯一标识:{}", request.getId());
  String path = INTERFACE_HOST + request.getPath();
  log.info("请求路径:{}", path);
  String method = request.getMethod().toString();
  log.info("请求方法:{}", method);
  log.info("请求参数:{}", request.getQueryParams());
  String sourceAddress = request.getLocalAddress().toString();
  log.info("请求来源地址:{}", sourceAddress);
  log.info("请求目标地址:{}", request.getRemoteAddress());
  ServerHttpResponse response = exchange.getResponse();

  // 2. 访问来源校验
  // 2.1. 黑白名单
  if (!IP_WHITE_HOSTS.contains(sourceAddress)) {
      // 设置错误状态码并返回
      response.setStatusCode(HttpStatus.FORBIDDEN);
      return response.setComplete();
  }
  // 2.2.内部调用
  if (antPathMatcher.match("/inner** /", path)) {
      response.setStatusCode(HttpStatus.FORBIDDEN);
      return response.setComplete();
  }
  // 2.3.聚合文档
  if (SWAGGER_API_DOC_HOST.contains(sourceAddress)) {
      log.info("聚合 API 文档访问,不需要校验");
      return chain.filter(exchange);
  }
日志记录:用户发送请求到 API 网关时,首先获取请求的详细信息并记录到日志中。这些日志信息包括:请求的唯一标识、请求路径、请求方法、请求参数、请求来源地址和请求目标地址。这种做法有助于后续的问题排查和性能分析。黑白名单:代码检查请求来源地址是否在白名单(IP_WHITE_HOSTS)中。如果不在白名单中,则直接返回 Forbidden(403)状态码,拒绝请求。这种做法是一种基本的访问控制机制,用于防止未经授权的访问。内部调用:使用一个基于路径的匹配来阻止内部调用,这里,/inner/**表示匹配所有以/inner/开头的路径。请求编码设置:获取请求头的 Content-Type,检查其是否设置了字符集。如果没有设置字符集,则默认将其设置为 UTF-8。这一步骤确保了请求的编码统一,避免了解析请求体时可能出现的编码问题。
# 用户鉴权流程
在实现了对用户请求的日志信息记录,黑白名单比对,阻止内部调用和设置请求来源编码后,接下来需要进行用户鉴权,保障接口调用安全性。
该业务逻辑涉及了多个安全验证步骤,包括 accessKey 和 secretKey 的验证、nonce 和 timestamp 的验证,以及接口信息的验证。通过这些验证步骤,可以确保只有拥有有效凭证并且请求满足一定条件的客户端才能访问后端服务:
// 3. 用户请求校验
  HttpHeaders headers = request.getHeaders();
  // 3.1.设置请求编码
  MediaType requestContentType = headers.getContentType();
  if (requestContentType != null && requestContentType.getCharset() == null) {
      headers.setContentType(new MediaType(requestContentType.getType(), requestContentType.getSubtype(),
              StandardCharsets.UTF_8));
  }
  String accessKey = headers.getFirst("accessKey");
  String nonce = headers.getFirst("nonce");
  String timestamp = headers.getFirst("timestamp");
  String body = headers.getFirst("body");
  String sign = headers.getFirst("sign");

  // 3.2.校验accessKey
  // todo 从数据库中查询, accessKey是否分配给该用户
  if (accessKey == null || !accessKey.equals("memory")) {
      return handleNoAuth(response);
  }
  // accessKey 是否分配给该用户
  // User invokeUser = userDubboService.getInvokeUser(accessKey);
  User invokeUser = userFeignClient.getInvokeUser(accessKey);
  if (invokeUser == null) {
      return handleNoAuth(response);
  }
  // 3.3.校验 nonce 不能超过10000
  if (nonce == null || Long.parseLong(nonce) > 10000) {
      throw new RuntimeException("无权限");
  }
  // 3.4.校验 timestamp 不能超时5分钟
  final long FIVE_MINUTES = 60L * 5L;
  if (timestamp == null || System.currentTimeMillis() / 1000L - Long.parseLong(timestamp) >= FIVE_MINUTES) {
      return handleNoAuth(response);
  }
  // 3.5.校验body
  if (body == null) return handleNoAuth(response);
  // 3.6.校验 secretKey
  // 从数据库中查询, secretKey是否分配给该用户
  String secretKey = invokeUser.getSecretKey();
  if (secretKey == null) {
      return handleNoAuth(response);
  }
  String serverSign = SignUtils.getSign(body, secretKey);
  if (sign == null || !sign.equals(serverSign)) {
      return handleNoAuth(response);
  }
校验 accessKey:从请求头中获取 accessKey。检查 accessKey 是否为 null 或是否与预定义的 memory 值匹配。如果不匹配,则拒绝授权并返回无授权处理响应。使用 innerUserService.getInvokeUser(accessKey)从数据库中查询该 accessKey 是否已分配给某个用户。如果没有找到用户,则拒绝授权并返回无授权处理响应。校验 nonce:从请求头中获取 nonce。检查 nonce 是否为 null 或是否大于 10000。如果条件不满足,则抛出运行时异常表示无权限。校验 timestamp:从请求头中获取 timestamp。检查 timestamp 是否为 null 或是否在当前时间的 5 分钟之前。如果条件不满足,则拒绝授权并返回无授权处理响应。校验 body:从请求头中获取 body。检查 body 是否为 null。如果是,则拒绝授权并返回无授权处理响应。校验 secretKey:从数据库中查询已授权用户的 secretKey。使用 SignUtils.getSign(body, secretKey)生成服务器端的签名。检查请求头中的 sign 是否为 null 或是否与服务器生成的签名匹配。如果不匹配,则拒绝授权并返回无授权处理响应。
请求的模拟接口校验:使用 innerInterfaceInfoService.getInterfaceInfo(path, method)从数据库中查询请求调用的接口是否存在,并且请求方法是否匹配。如果接口信息 interfaceInfo 为 null,则拒绝授权并返回无授权处理响应。
  // 4. 请求的模拟接口是否存在
  // InterfaceInfo = interfaceInfoDubboService.getInterfaceInfo(path, method);
  InterfaceInfo interfaceInfo = interfaceInfoFeignClient.getInterfaceInfo(path, method);
  if (interfaceInfo == null) {
      return handleNoAuth(response);
  }
调用接口:调用 handleResponse(exchange, chain, interfaceInfo.getId(), invokeUser.getId())方法处理请求,并传入接口 ID 和用户 ID。
 // 5.接口调用
 return handleResponse(exchange, chain, interfaceInfo.getId(), invokeUser.getId());
接口调用统计,实现用户调用次数统计以及用户积分管理:
 // 6. 接口调用统计,接口调用次数 + 1, 用户积分 - 1
 try {
     // userInterfaceInfoDubboService.invokeCount(interfaceInfoId, userId);
     userInterfaceInfoFeignClient.invokeCount(interfaceInfoId, userId);
 } catch (Exception e) {
    log.error("invokeCount error", e);
}
# 跨域解决
在网关模块 memory-backend-gateway中,添加如下代码,处理跨域请求:
/**
 * ClassName: CorsConfig
 * Package: com.memory.gateway.config
 * Description: 处理跨域
 *
 * @Author Memory
 * @Create 2024/6/16 12:32
 * @Version 1.0
 */

@Configuration
public class CorsConfig {
    @Bean
    public CorsWebFilter corsWebFilter() {
        CorsConfiguration config = new CorsConfiguration();
        config.addAllowedMethod("*");
        config.setAllowCredentials(true);
        config.setAllowedOriginPatterns(Collections.singletonList("*"));
        config.addExposedHeader("*");
        UrlBasedCorsConfigurationSource source = new UrlBasedCorsConfigurationSource(new PathPatternParser());
        source.registerCorsConfiguration("/**", config);
        return new CorsWebFilter(source);
    }
}s