 其他核心功能
学习目标
在这里,你将系统学习了解 其他核心功能的具体代码实现
我们将以最简单直接的方式为您呈现内容!
# 🍚 验证码登录
# 用户登录
我们之前实现过简单的方式,即用户可直接使用账户 + 密码实现登录,如下:
/**
    * 用户登录
    *
    * @param userLoginRequest 用户登录请求参数
    * @param request          request
    * @return 登录用户信息
    */
    @PostMapping("/login")
    public BaseResponse<LoginUserVO> userLogin(@RequestBody UserLoginRequest userLoginRequest, HttpServletRequest request) {
        // Controller 层对参数的校验
        if (userLoginRequest == null) {
            throw new BusinessException(ErrorCode.PARAMS_ERROR);
        }

        String userAccount = userLoginRequest.getUserAccount();
        String userPassword = userLoginRequest.getUserPassword();
        if (StringUtils.isAnyBlank(userAccount, userPassword)) {
            throw new BusinessException(ErrorCode.PARAMS_ERROR);
        }

        LoginUserVO loginUserVO = userService.userLogin(userAccount, userPassword, request);
        return ResultUtils.success(loginUserVO);
}
具体业务逻辑实现:
@Override
public LoginUserVO userLogin(String userAccount, String userPassword, HttpServletRequest request) {
    // 1. 校验
    if (StringUtils.isAnyBlank(userAccount, userPassword)) {
        throw new BusinessException(ErrorCode.PARAMS_ERROR, "参数为空");
    }
    if (userAccount.length() < 4) {
        throw new BusinessException(ErrorCode.PARAMS_ERROR, "账号错误");
    }
    if (userPassword.length() < 8) {
        throw new BusinessException(ErrorCode.PARAMS_ERROR, "密码错误");
    }

    // 2. 加密
    String encryptPassword = DigestUtils.md5DigestAsHex((SALT + userPassword).getBytes());
    // 查询用户是否存在
    QueryWrapper<User> queryWrapper = new QueryWrapper<>();
    queryWrapper.eq("userAccount", userAccount);
    queryWrapper.eq("userPassword", encryptPassword);
    User user = this.baseMapper.selectOne(queryWrapper);
    // 用户不存在
    if (user == null) {
        log.info("user login failed, userAccount cannot match userPassword");
        throw new BusinessException(ErrorCode.PARAMS_ERROR, "用户不存在或密码错误");
    }

    // 3. 记录用户的登录态
    request.getSession().setAttribute(USER_LOGIN_STATE, user);
    return this.getLoginUserVO(user);
}
现在我们选择新增验证码登录功能,操作快捷方便的同时,也能留给用户更多的选择。
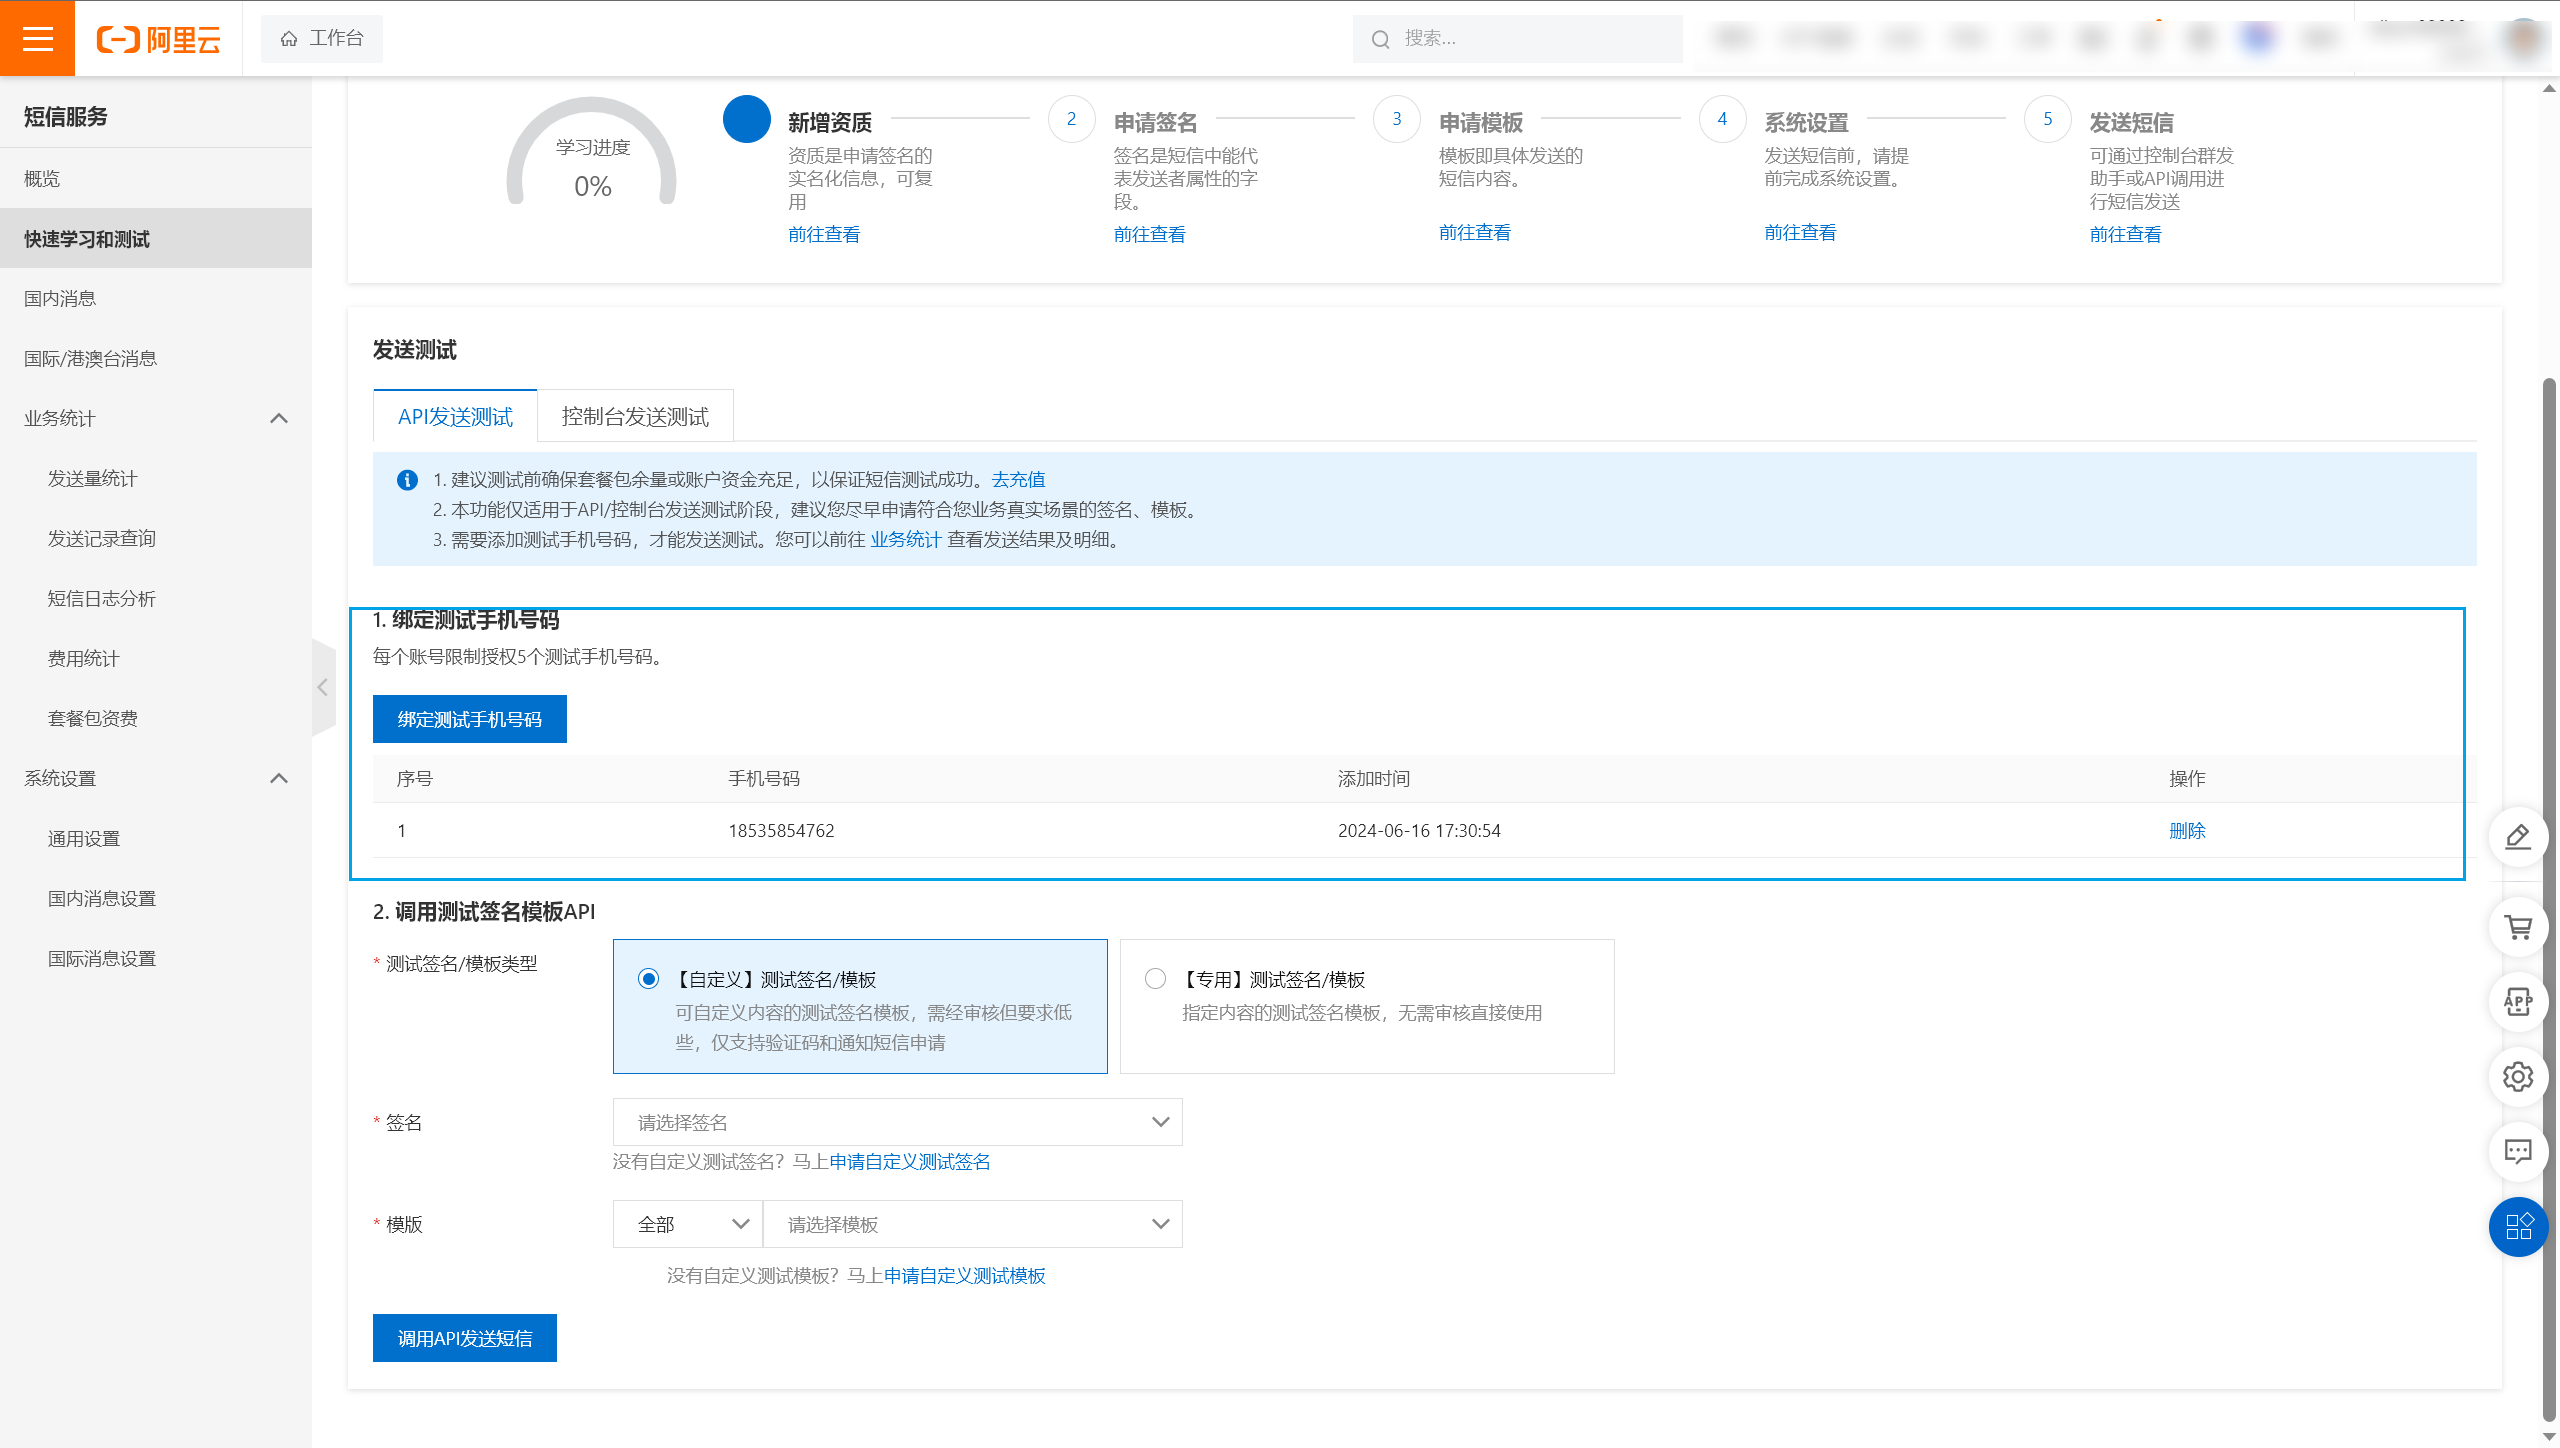
# 阿里云短信服务
要实现验证码登录,首先要引入短信服务,即发送包含验证码的短信至用户,用户接收到验证码之后再进行登录。
我们选择接入阿里云短信服务,更快捷也更普适,直接如下图所示开通阿里云短信服务:
在 memory-backend-core-service 服务下编写短信发送接口,如下:
/**
    * 短信发送
    *
    * @return 发送成功与否
    */
    @PostMapping("/sendMsg")
    public BaseResponse<Boolean> sendShortMessage(@RequestBody UserLoginRequest userLoginRequest) {
        // Controller 层对参数的校验
        if (userLoginRequest == null) {
            throw new BusinessException(ErrorCode.PARAMS_ERROR);
        }

        Long phone = userLoginRequest.getPhone();
        boolean result = userService.sendShortMessage(phone);
        return ResultUtils.success(result);
    }
详细的业务逻辑实现:
private final String ALIYUN_MESSAGE_KEY = "aliyun:message:%s:";


@Override
public boolean sendShortMessage(long phone) {
    // 1.生成随机码
    // 生成随机的7位验证码
    String code = ValidateCodeUtils.generateValidateCode(7).toString();

    // 2.发送阿里云短信
    SMSUtils.sendMessage(SIGN_NAME, TEMPLATE_CODE, String.valueOf(phone), code);

    // 3.存储验证码
    redisTemplate.opsForValue().set(String.format(ALIYUN_MESSAGE_KEY, phone), code, 10, TimeUnit.SECONDS);
    return true;
}
至此,阿里云短信服务已成功接入,该服务能够正常给指定用户发送短信。
# 验证码登录
接下来,继续在 memory-backend-core-service 服务下编写验证码登录接口,如下:
/**
    * 验证码登录
    *
    * @param userLoginRequest 用户登录请求参数
    * @param request          request
    * @return 登录用户信息
    */
@PostMapping("/login/code")
public BaseResponse<LoginUserVO> userLoginByCode(@RequestBody UserLoginRequest userLoginRequest, HttpServletRequest request) {
    // Controller 层对参数的校验
    if (userLoginRequest == null) {
        throw new BusinessException(ErrorCode.PARAMS_ERROR);
    }

    String code = userLoginRequest.getCode();
    Long phone = userLoginRequest.getPhone();

    LoginUserVO loginUserVO = userService.userLoginByCode(phone, code, request);
    return ResultUtils.success(loginUserVO);
}
详细的验证码登录业务逻辑:
 @Override
public LoginUserVO userLoginByCode(long phone, String code, HttpServletRequest request) {
    // 1. 校验
    if (StringUtils.isAnyBlank(code)) {
        throw new BusinessException(ErrorCode.PARAMS_ERROR, "参数为空");
    }
    // 2. 校验验证码
    String validatedCode = redisTemplate.opsForValue().get(String.format(ALIYUN_MESSAGE_KEY, phone));
    if (!code.equals(validatedCode)) {
        throw new BusinessException(ErrorCode.PARAMS_ERROR, "验证码错误");
    }
    // 3. 记录用户的登录态
    User loginUser = getLoginUser(request);
    request.getSession().setAttribute(USER_LOGIN_STATE, loginUser);
    return this.getLoginUserVO(loginUser);
}
至此,验证码登录功能已经完善,用户可以通过输入手机号码使用发送短信验证码的方式,进行登录。
# 🍖 用户头像上传
在进行个人信息管理及修改时,除了基本信息的改动,我们希望支持用户上传和修改自己喜欢的头像,提升用户体验。
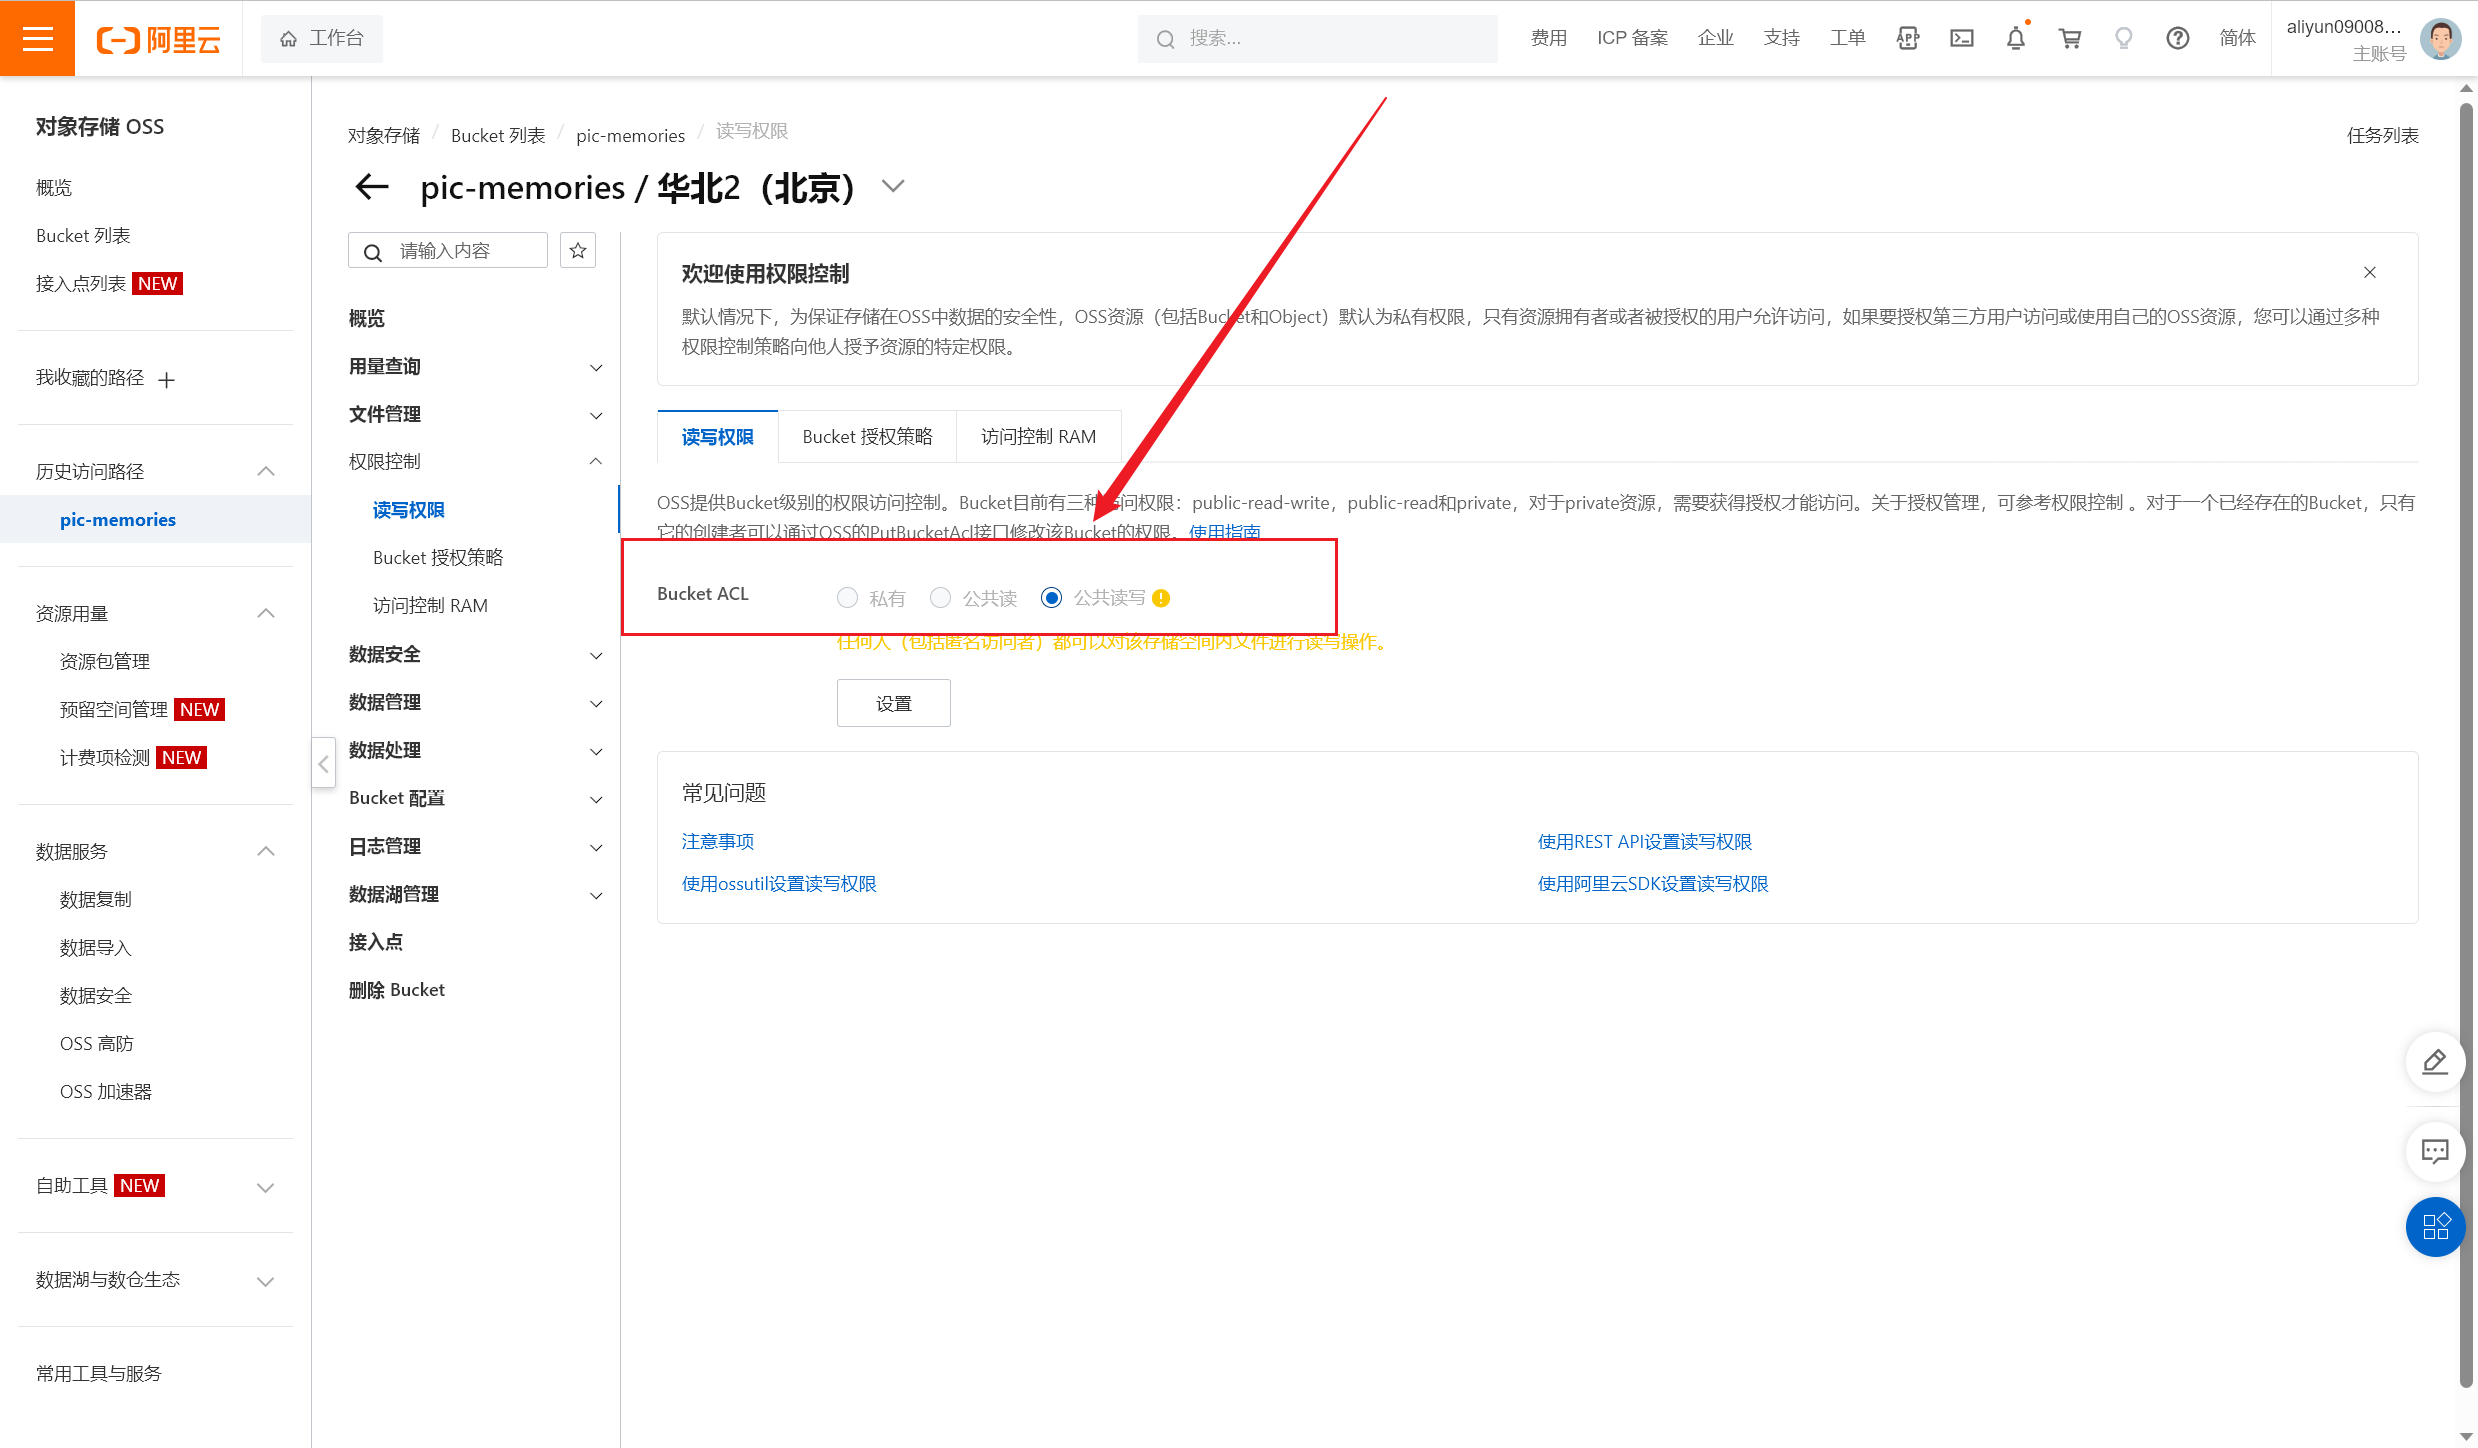
在这个过程中,我们需要接入阿里云对象存储服务,便捷地实现图片上传和下载。
# 阿里云对象存储
推荐阅读:【案例实战】SpringBoot 整合阿里云文件上传 OSS-阿里云开发者社区 (aliyun.com) (opens new window)
确保memory-backend-core-service服务的配置信息无误:
# oss
aliyun:
  oss:
    end-point: oss-cn-beijing.aliyuncs.com
    access-key-id: ************************
    access-key-secret: ************************
    bucket-name: memory-api
- 记得开启对应 Bucket 的公共读写权限:
# 文件上传
继续在 memory-backend-core-service 服务下编写文件上传接口接口,如下:
@Slf4j
@RestController
@RequestMapping("/file")
public class FileController {

    @Resource
    private FileService fileService;

    /**
     * 文件上传接口
     *
     * @param file
     * @return
     */
    @PostMapping("/upload")
    public Map<String, Object> upload(@RequestPart("file") MultipartFile file) {
        String imgFileStr = fileService.upload(file);
        return buildResult(imgFileStr);
    }
}
/**
    * 测试返回拼装,根据公司自己封装的统一返回去写
    *
    * @param str
    * @return
    */
    private Map<String, Object> buildResult(String str) {
    Map<String, Object> result = new HashMap<>();
    // 判断字符串用lang3下的StringUtils去判断,这块我就不引入新的依赖了
    if (str == null || "".equals(str)) {
        result.put("code", 10000);
        result.put("msg", "图片上传失败");
        result.put("data", null);
    } else {
        result.put("code", 200);
        result.put("msg", "图片上传成功");
        result.put("data", str);
    }
    return result;
}
经测试,文件上传接口可以正确提供服务。
# 🥣 订单支付
# ☕ SDK 离线下载
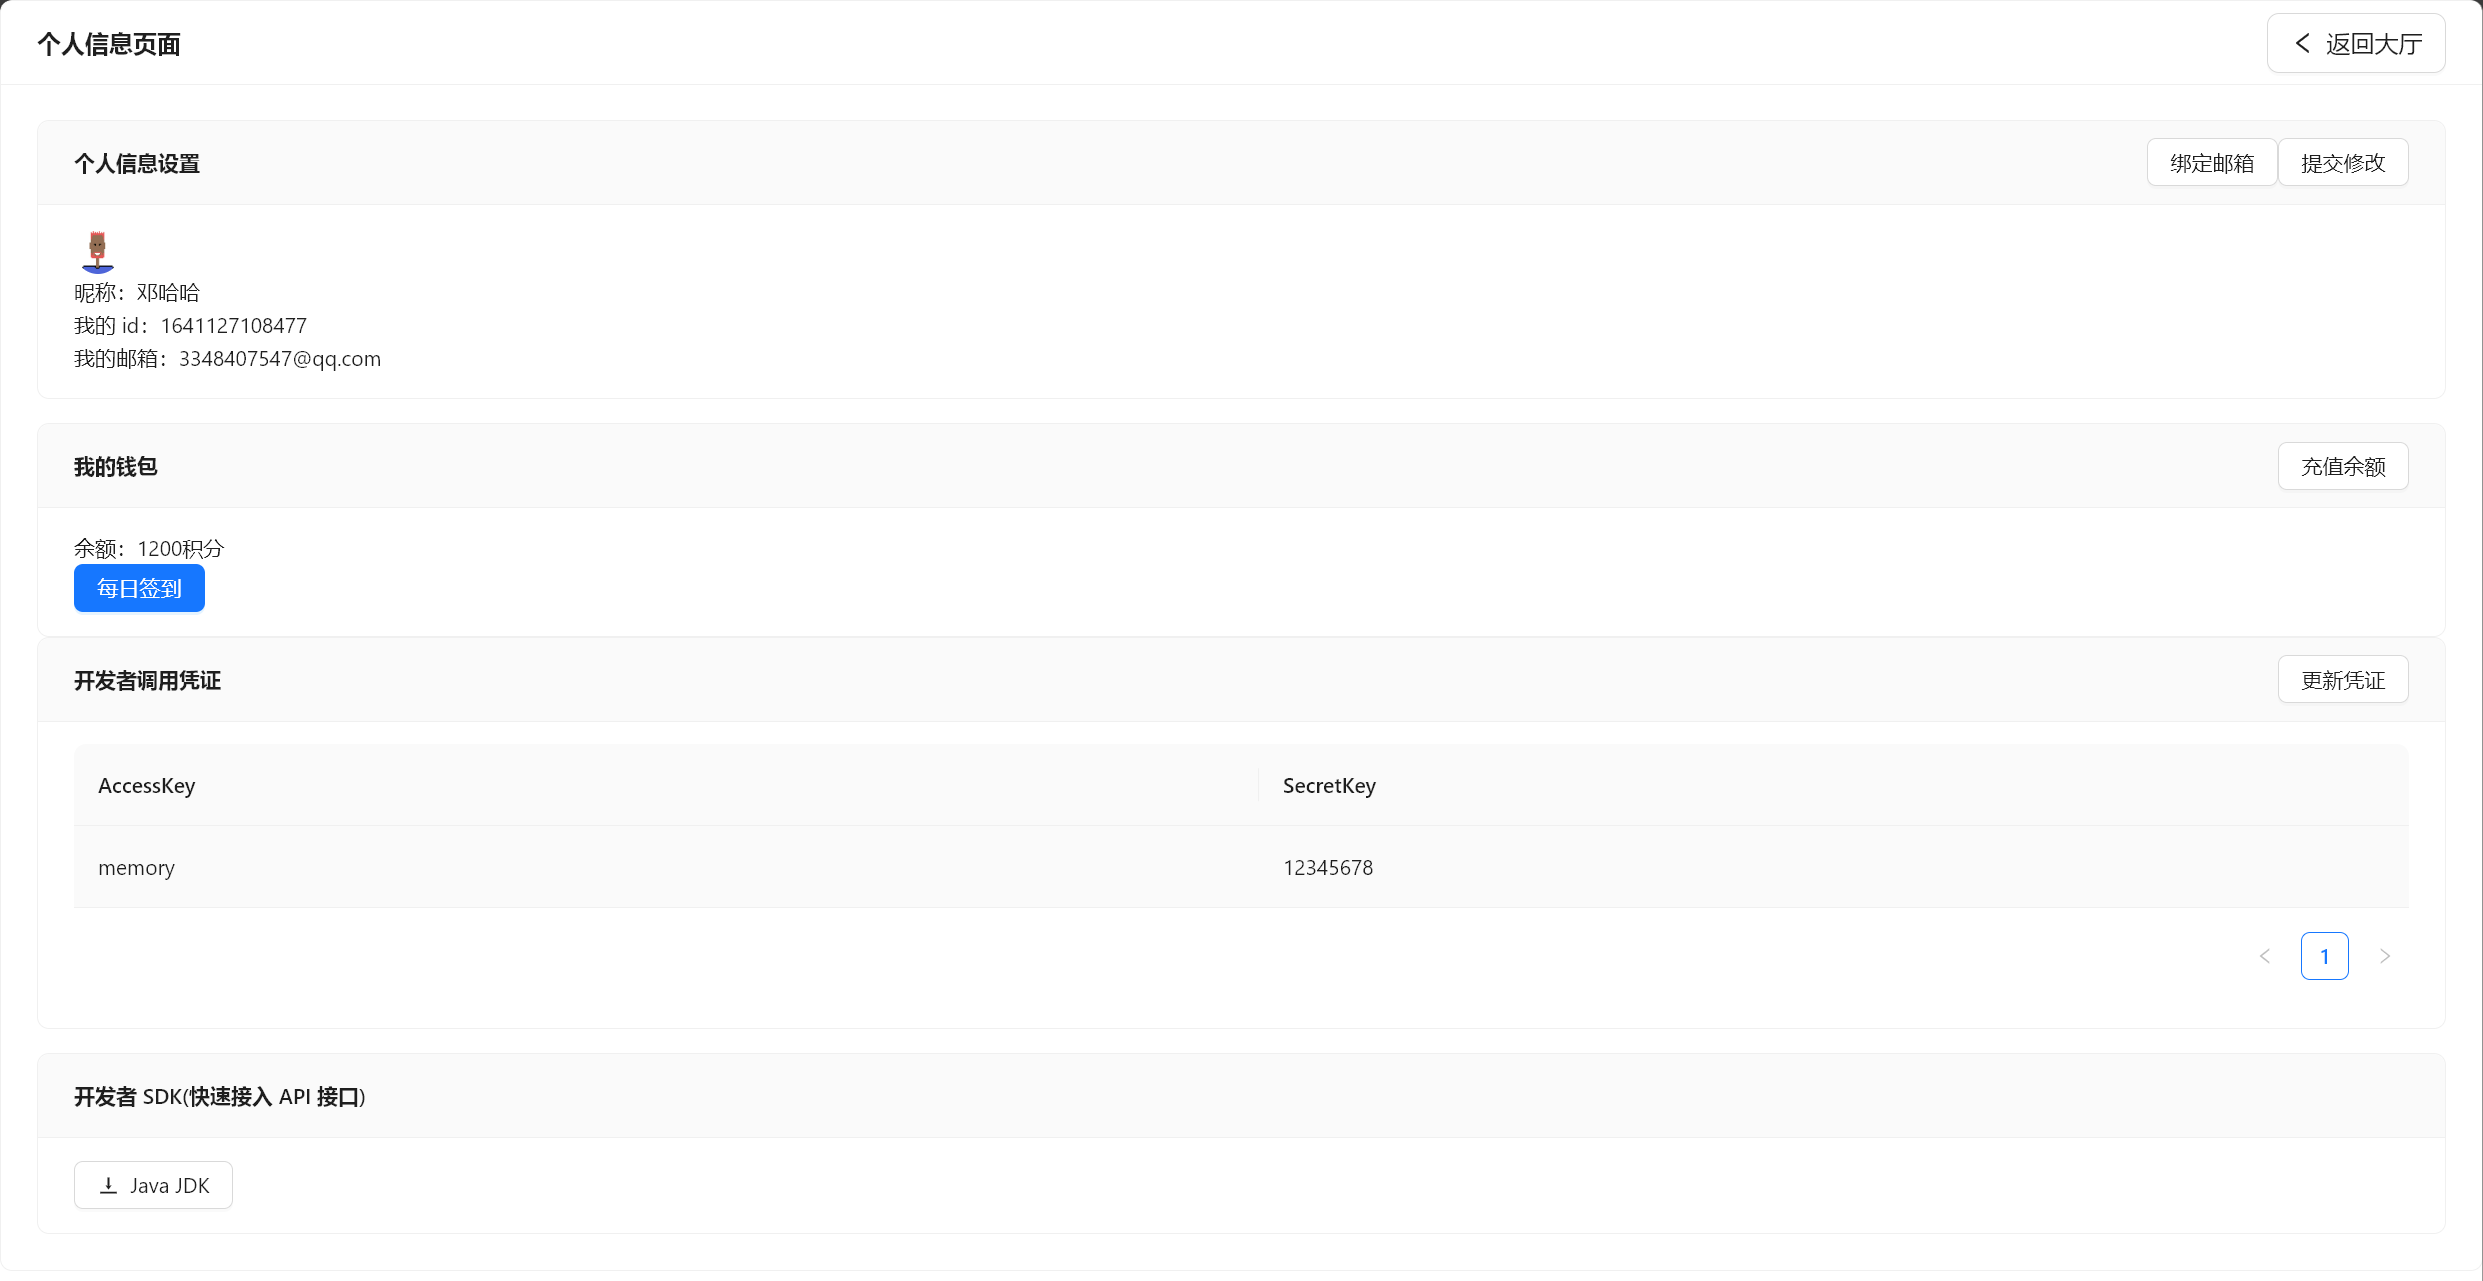
# 注册登录平台
- 在 API 开放平台进行注册登录,可以获取到开发者密钥 ak、sk
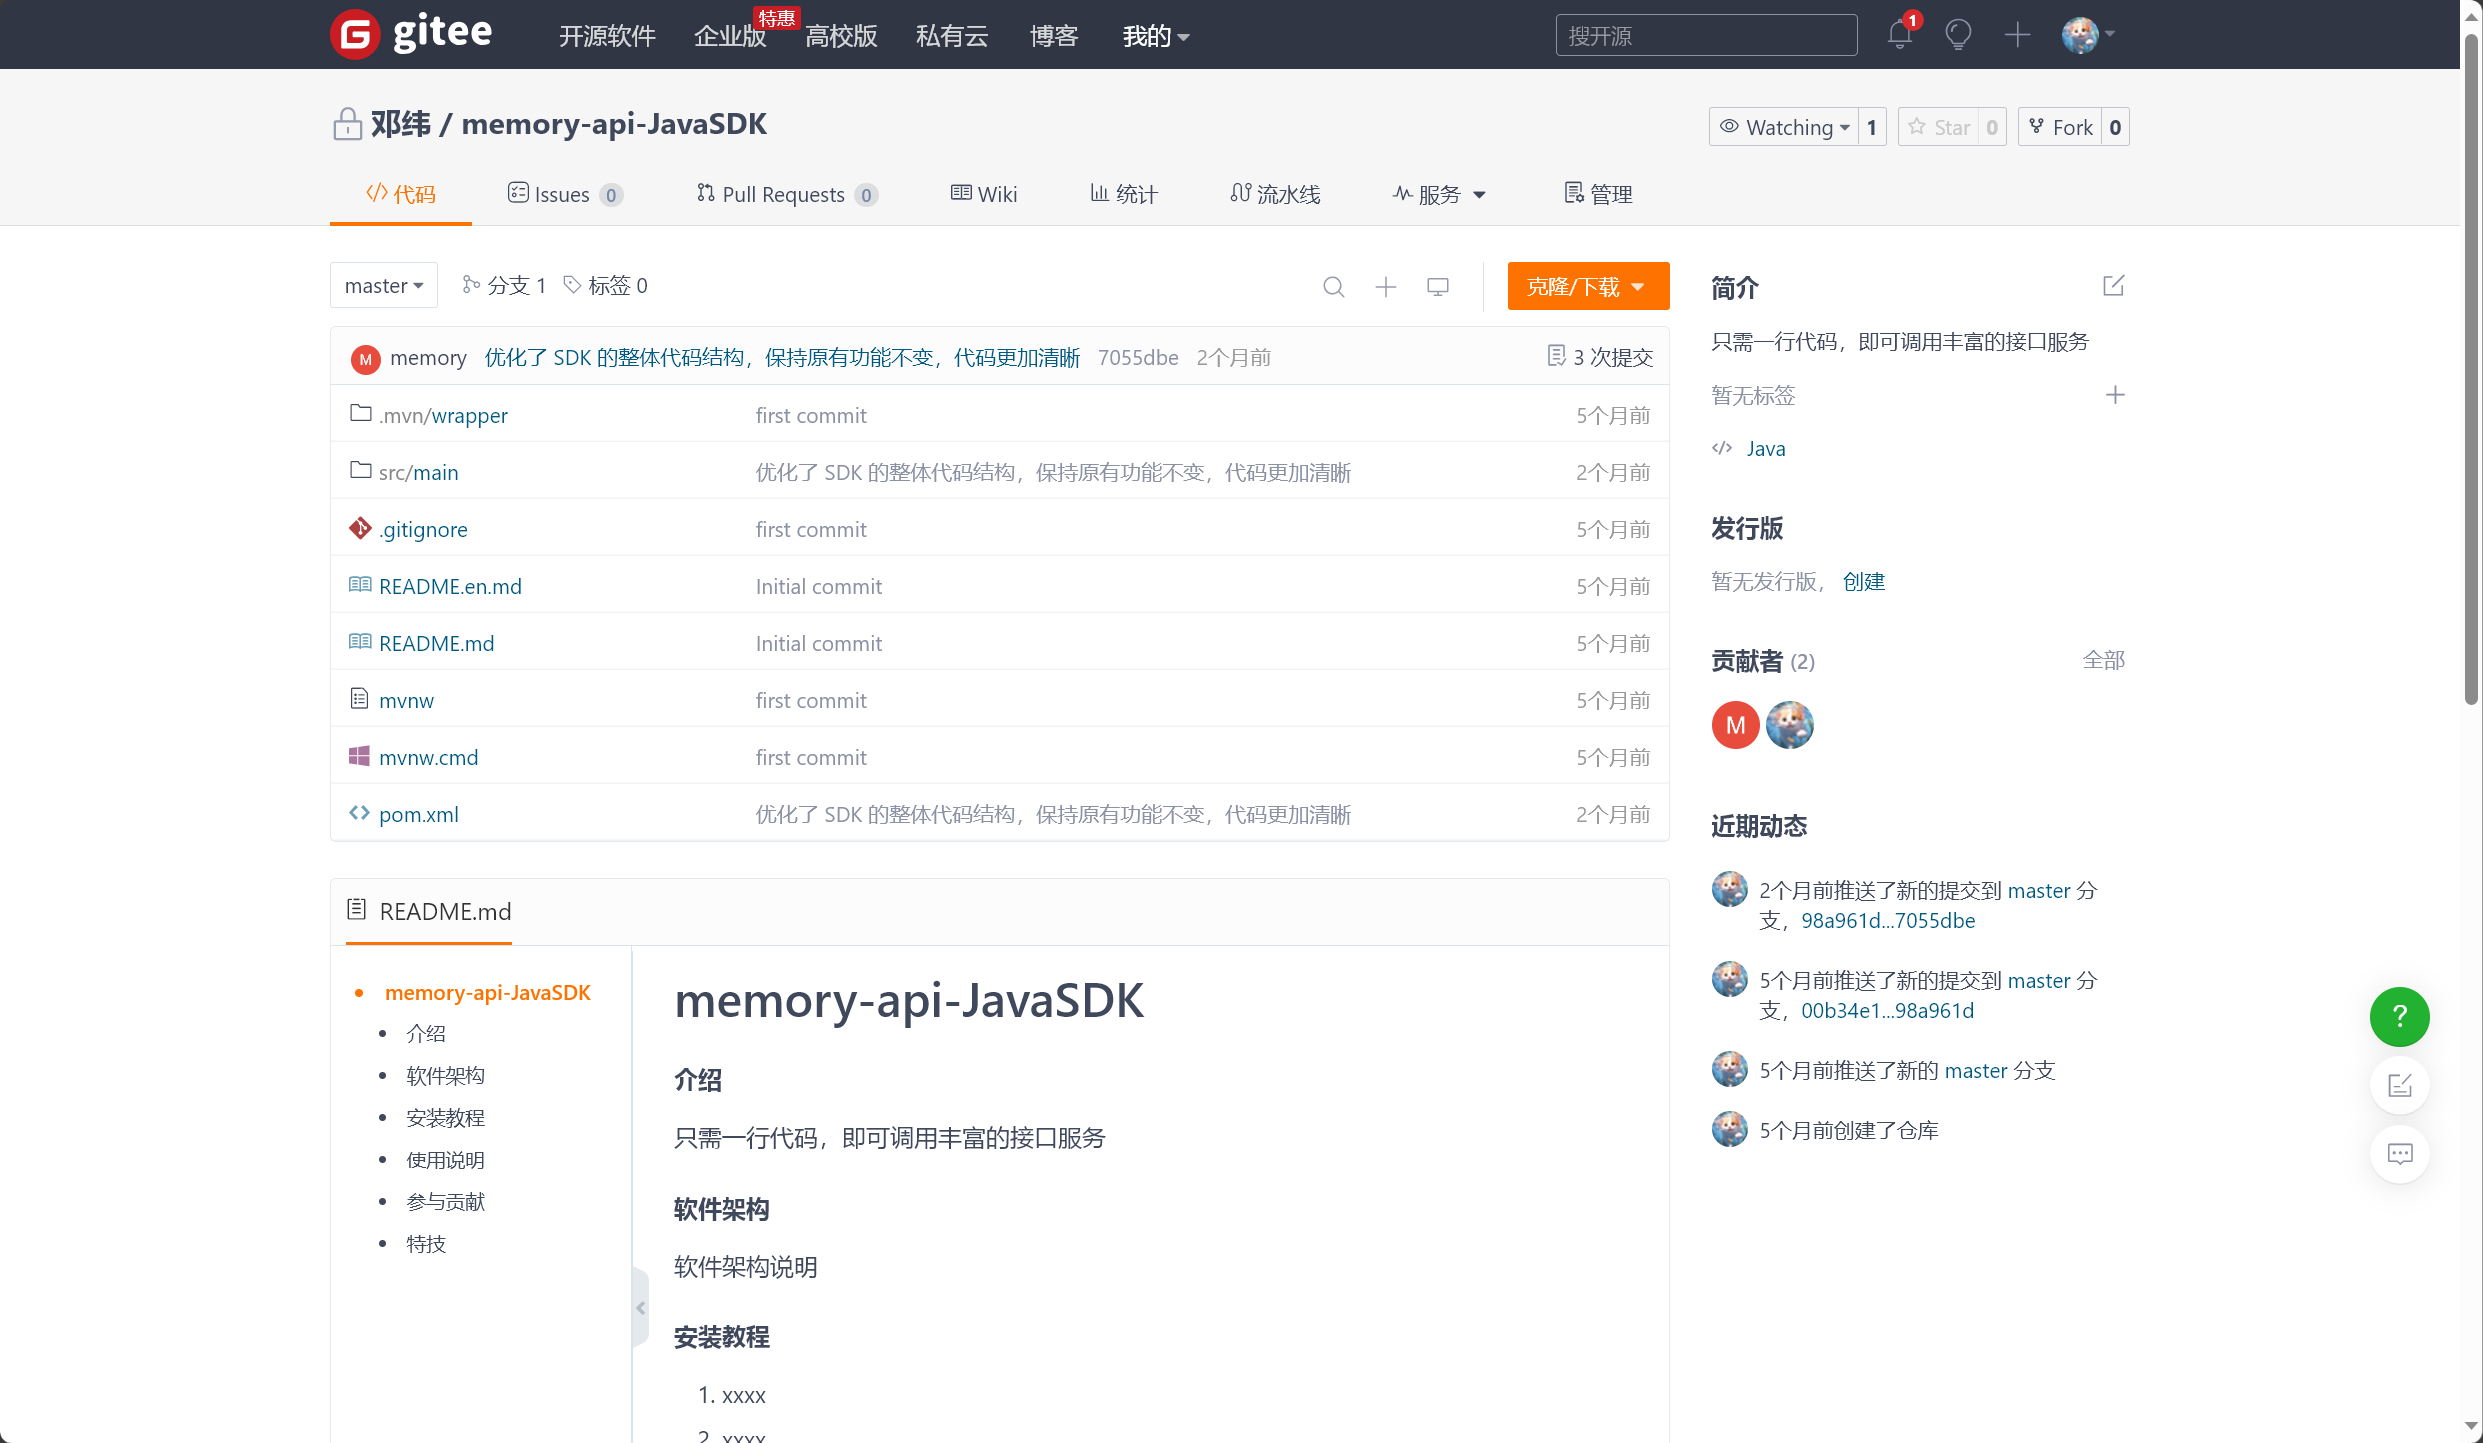
# 客户端 SDK 下载
- 下载 SDK 代码到本地,在本地使用 mvn install 命令打包 SDK:
- 导入依赖:在本地项目中引入 SDK 依赖即可使用
<dependency>
    <groupId>com.memory</groupId>
    <artifactId>memory-client-spring-boot-starter</artifactId>
    <version>0.0.1</version>
</dependency>
# 项目配置
- 在项目的 application.yml 配置文件中填写客户端配置,比如 ak、sk 等
memory:
  client:
    access-key: memory
    secret-key: 12345678
# 接口调用
这里演示如何调用
随机获取壁纸接口服务:项目启动时,会自动创建一个客户端调用对象,可以直接在项目中注入该对象并使用。直接调用接口:
import com.memory.client.model.Picture;
import com.memory.client.service.MemoryClientService;

@Resource
private MemoryClientService memoryClientService;
Picture picture = new Picture("girl");
String girlImgListStr = memoryClientService.getPictureListByType(picture);
System.out.println(girlImgListStr);
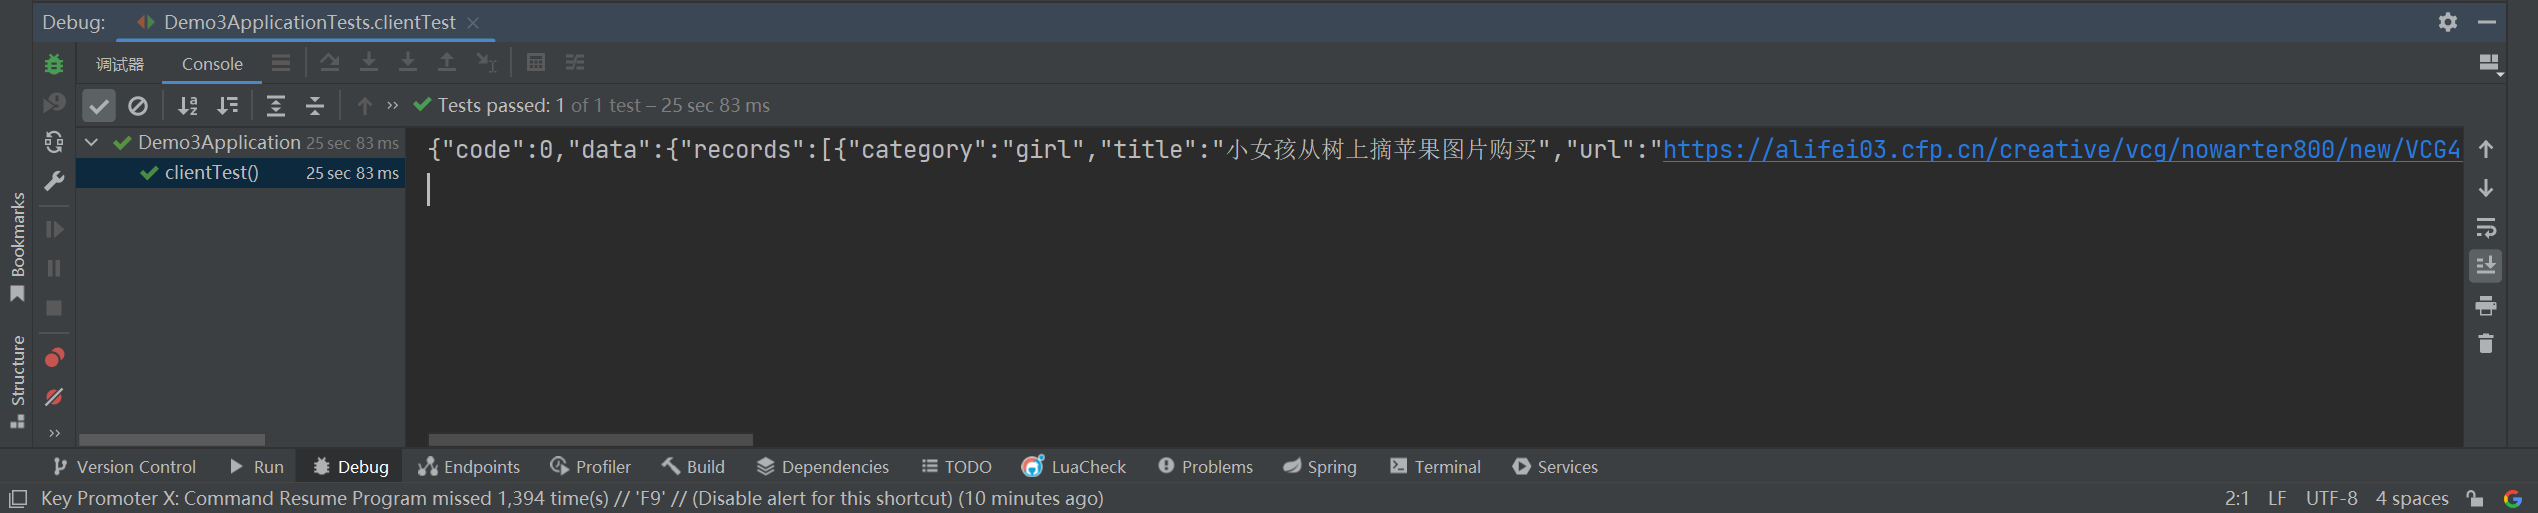
- 执行代码,结果如下:
# 🍛 数据统计分析
在接口调用的过程中,既要保证接口调用过程中的安全性和稳定性,还需要做好接口调用次数统计,方便进行后续的热门接口分析等工作。
# 热门接口
# 接口调用次数
/**
 * 内部用户接口信息服务
 * 该服务仅内部调用,不是给前端的
 */
@RestController
@RequestMapping("/user/interface/inner")
public class UserInterfaceInnerController implements UserInterfaceInfoFeignClient {

    @Resource
    private UserInterfaceInfoService userInterfaceInfoService;

    /**
     * 接口调用统计
     *
     * @param interfaceInfoId 接口 id
     * @param userId          用户 id
     * @return 是否调用成功
     */
    @Override
    @GetMapping("/get/invoke/count")
    public boolean invokeCount(long interfaceInfoId, long userId) {
        return userInterfaceInfoService.invokeCount(interfaceInfoId, userId);
    }
}
详细的业务逻辑实现:
/**
    * 接口调用统计
    *
    * @param interfaceInfoId 接口 id
    * @param userId          用户 id
    * @return 是否调用成功
    */
    @Override
    public boolean invokeCount(long interfaceInfoId, long userId) {
        // 判断
        if (interfaceInfoId <= 0 || userId <= 0) {
            throw new BusinessException(ErrorCode.PARAMS_ERROR);
        }
        // 接口调用次数+1
        UpdateWrapper<InterfaceInfo> interfaceInfoUpdateWrapper = new UpdateWrapper<>();
        interfaceInfoUpdateWrapper.setSql("count = count + 1");
        if (!(interfaceInfoService.update(interfaceInfoUpdateWrapper))) {
            throw new BusinessException(ErrorCode.OPERATION_ERROR, "接口调用次数+1, 出错了");
        }
        // 用户积分-1
        User user = userService.getById(userId);
        if (user == null || user.getBalance() <= 0) {
            throw new BusinessException(ErrorCode.OPERATION_ERROR, "接口调用失败, 用户积分不足");
        }
        UpdateWrapper<User> userUpdateWrapper = new UpdateWrapper<>();
        userUpdateWrapper.setSql("balance = balance - 1");
        if (!(userService.update(userUpdateWrapper))) {
            throw new BusinessException(ErrorCode.OPERATION_ERROR, "接口调用次数+1, 出错了");
        }
        // 调用成功
        return true;
    }
在 memory-backend-gateway服务中进行接口调用统计,实现用户调用次数统计以及用户积分管理:
 // 6. 接口调用统计,接口调用次数 + 1, 用户积分 - 1
 try {
     // userInterfaceInfoDubboService.invokeCount(interfaceInfoId, userId);
     userInterfaceInfoFeignClient.invokeCount(interfaceInfoId, userId);
 } catch (Exception e) {
    log.error("invokeCount error", e);
}
# 接口调用记录
在 API 接口开放平台运行时,还需要统计每个用户的接口调用记录,方便后续分析该用户个人喜好以及优化相关接口功能等