本文最后更新于:6 个月前
破冰
在 SpringBoot中 着手开发一个stater,简要介绍 SDK 的开发流程
🍖 推荐阅读:
Elijasmine 的个人主页 - 文章 - 掘金 (juejin.cn)
SpringBoot系列(一) SpringBoot启动流程 - 掘金 (juejin.cn)
面试题:谈谈Spring用到了哪些设计模式? - 掘金 (juejin.cn)
SpringBoot的starter到底是什么? - 掘金 (juejin.cn)
阿里一面:说一说Java、Spring、Dubbo三者SPI机制的原理和区别 - 掘金 (juejin.cn)
三分钟了解springBoot 之spring.factories扩展机制 - 掘金 (juejin.cn)
springboot 自定义starter的过程以及遇到的问题 - 简书 (jianshu.com)
正文
自定义 Starter
- 之前我们开发过 memory-client-sdk 接口调用 SDK,但是不够完善,今天在保持原有功能不变的情况下,重构该 SDK:(2024/01/08晚)
新建 Spring Boot 项目
- 新建 Spring Boot 项目
memory-client-spring-boot-starter:
1
2
3
| <groupId>com.memory</groupId>
<artifactId>memory-client-spring-boot-starter</artifactId>
<version>0.0.1</version>
|
依赖配置
1
2
3
4
5
| <dependency>
<groupId>org.springframework.boot</groupId>s
<artifactId>spring-boot-configuration-processor</artifactId>
<optional>true</optional>
</dependency>
|
spring-boot-configuration-processor 在自定义 Spring Boot Starter 时的作用主要是生成配置元数据、提供代码提示和自动补全,以及确保配置属性的正确解析:
- 生成配置元数据:该依赖会根据在项目中定义的带有
@ConfigurationProperties 注解的类,在 META-INF 文件夹下生成 spring-configuration-metadata.json 文件。这个文件是一种元数据文件,其中包含了关于配置属性的信息,如属性名称、类型、默认值等。这些信息可以用于在IDE中编辑配置文件时提供代码提示和自动补全等功能。
- 提供代码提示和自动补全:当你在IDE中编辑配置文件时,由于
spring-boot-configuration-processor 生成的元数据,IDE 会提供代码提示和自动补全功能。这使得在编写配置文件时更加方便,降低了因拼写错误或配置项不正确而导致的错误。
- 确保配置属性的正确解析:
spring-boot-configuration-processor 在编译时会对带有 @ConfigurationProperties 注解的类进行处理,确保配置属性能够被正确地解析和绑定。这对于自定义的 Starter 来说非常重要,因为正确的解析和绑定配置属性是保证 Starter 功能正常的前提。
- 注意,新建的 Spring Boot 项目的
pom.xml文件下,都会有build标签,记得移除 👇:
1
2
3
4
5
6
7
8
9
10
11
12
13
14
15
16
17
18
19
20
21
22
23
24
25
|
<build>
<plugins>
<plugin>
<groupId>org.springframework.boot</groupId>
<artifactId>spring-boot-maven-plugin</artifactId>
<configuration>
<excludes>
<exclude>
<groupId>org.projectlombok</groupId>
<artifactId>lombok</artifactId>
</exclude>
</excludes>
</configuration>
</plugin>
<plugin>
<groupId>org.apache.maven.plugins</groupId>
<artifactId>maven-compiler-plugin</artifactId>
<configuration>
<source>8</source>
<target>8</target>
</configuration>
</plugin>
</plugins>
</build>
|
新增配置文件类
- 在 properties 目录下,新增配置文件类 MemoryClientProperties:
1
2
3
4
5
6
7
8
| @ConfigurationProperties(prefix = "memory.client")
public class MemoryClientProperties {
private String accessKey;
private String secretKey;
..............................
}
|
@ConfigurationProperties注解能够自动获取 application.properties 配置文件中前缀为 spring.girlfriend 节点下 message属性的内容
新增功能接口
- 在 service 目录下,新增功能接口 MemoryClientService,用来实现对各个接口发起调用:
1
2
3
4
5
6
7
8
9
10
11
12
13
14
15
16
17
18
| @Service
public interface MemoryClientService {
String getRandomWord(Words words);
String getPictureListByType(Picture picture);
}
|
新增功能接口实现类
- 在 service/impl 目录下,新增功能接口实现类 MemoryClientServiceImpl,用来实现对各个接口发起调用:
1
2
3
4
5
6
7
8
9
10
11
12
13
14
15
16
17
18
19
20
21
22
23
24
25
26
27
28
29
30
31
32
33
34
|
@Override
public String getRandomWord(Words words) {
String json = JSONUtil.toJsonStr(words);
return HttpRequest.post(GATEWAY_HOST + "/api/words/one/random")
.addHeaders(getHeaderMap(json))
.body(json)
.execute()
.body();
}
@Override
public String getPictureListByType(Picture picture) {
String json = JSONUtil.toJsonStr(picture);
return HttpRequest.post(GATEWAY_HOST + "/api/wallpaper/list/page/vo")
.addHeaders(getHeaderMap(json))
.body(json)
.execute()
.body();
}
.................................
|
新增自动配置类
- 新增自动配置类 MemoryClientAutoConfiguration,实现自动化配置功能:
1
2
3
4
5
6
7
8
9
10
11
| @Configuration
@ConditionalOnClass(MemoryClientService.class)
@EnableConfigurationProperties(MemoryClientProperties.class)
class MemoryClientAutoConfiguration {
@Bean
@ConditionalOnMissingBean
public MemoryClientService memoryClientService() {
return new MemoryClientServiceImpl();
}
}
|
- 简单介绍下这几个注解的作用:
@Configuration: 标注类为一个配置类,让 spring 去扫描它;- @ConditionalOnClass
:条件注解,只有在 classpath 路径下存在指定 class 文件时,才会实例化 Bean
- @EnableConfigurationProperties
:使指定配置类生效;
- @Bean
: 创建一个实例类注入到 Spring Ioc 容器中;
- @ConditionalOnMissingBean`:条件注解,意思是,仅当 Ioc 容器不存在指定类型的 Bean 时,才会创建 Bean。
配置自动装配类路径
1
| org.springframework.boot.autoconfigure.EnableAutoConfiguration=com.example.starter3.NameAutoConfiguration
|
- 而在 Spring Boot 3.x 中,在 resource/META-INF/spring/org.springframework.boot.autoconfigure.AutoConfiguration.imports 文件下,添加如下配置:
1
| com.example.starter3.NameAutoConfiguration
|
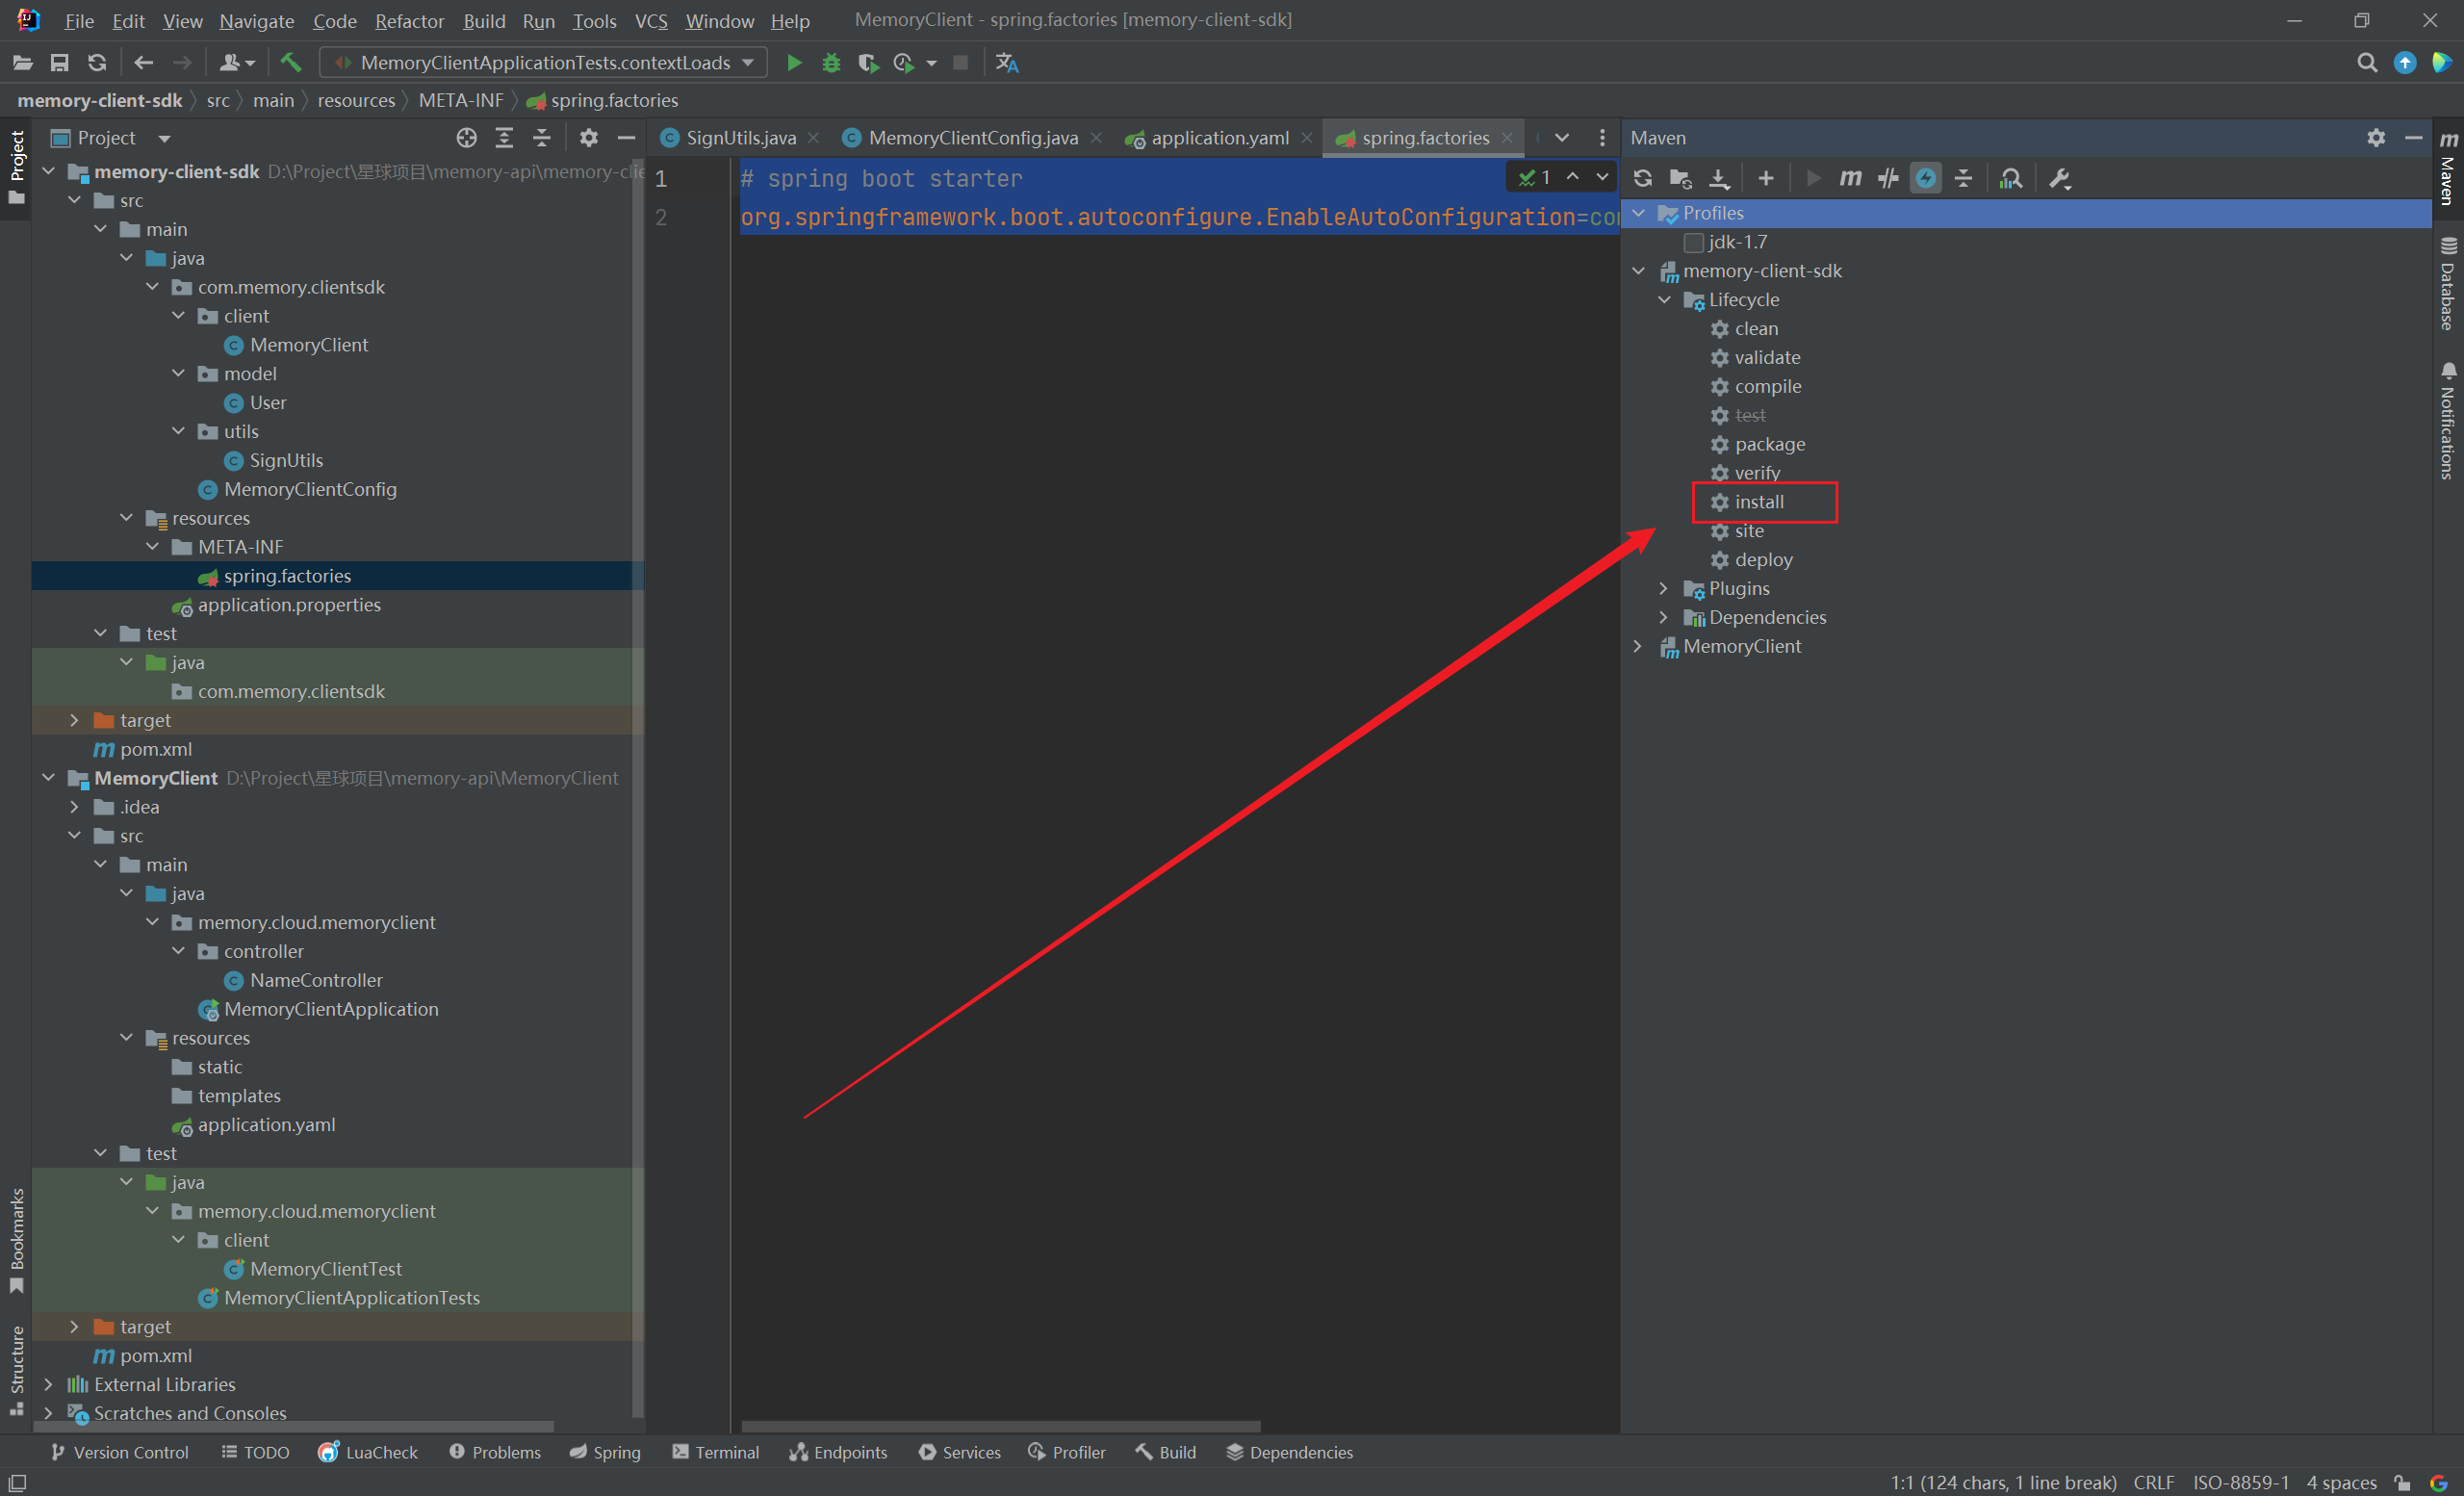
打包
- 是将
girl-friend-spring-boot-starter 打成 jar 包,放到本地的 maven 仓库中去在项目根路径下执行 maven 命令:
引用自定义 Starter
- 在需要引入
memory-client-spring-boot-starter 接口调用功能的 Spring Boot 项目中的 pom.xml文件中,导入依赖:
1
2
3
4
5
| <dependency>
<groupId>com.memory</groupId>
<artifactId>memory-client-sdk</artifactId>
<version>0.0.1</version>
</dependency>
|
- 在
resouce目录下的application.yaml配置文件下,添加如下配置:
1
2
3
4
| memory-api:
client:
access-key: memory
secret-key: 12345678
|
- 注入
MemoryClientService,可以对任一接口服务发起调用:
1
2
3
4
5
6
7
8
9
10
11
12
| @Resource
private MemoryClientService memoryClientService;
com.memory.client.model.Words words = gson.fromJson(userRequestParams, com.memory.client.model.Words.class);
result = memoryClientService.getRandomWord(words);
com.memory.client.model.Picture picture = gson.fromJson(userRequestParams, com.memory.client.model.Picture.class);
result = memoryClientService.getPictureListByType(picture);
............................
|
基本流程
着手开发
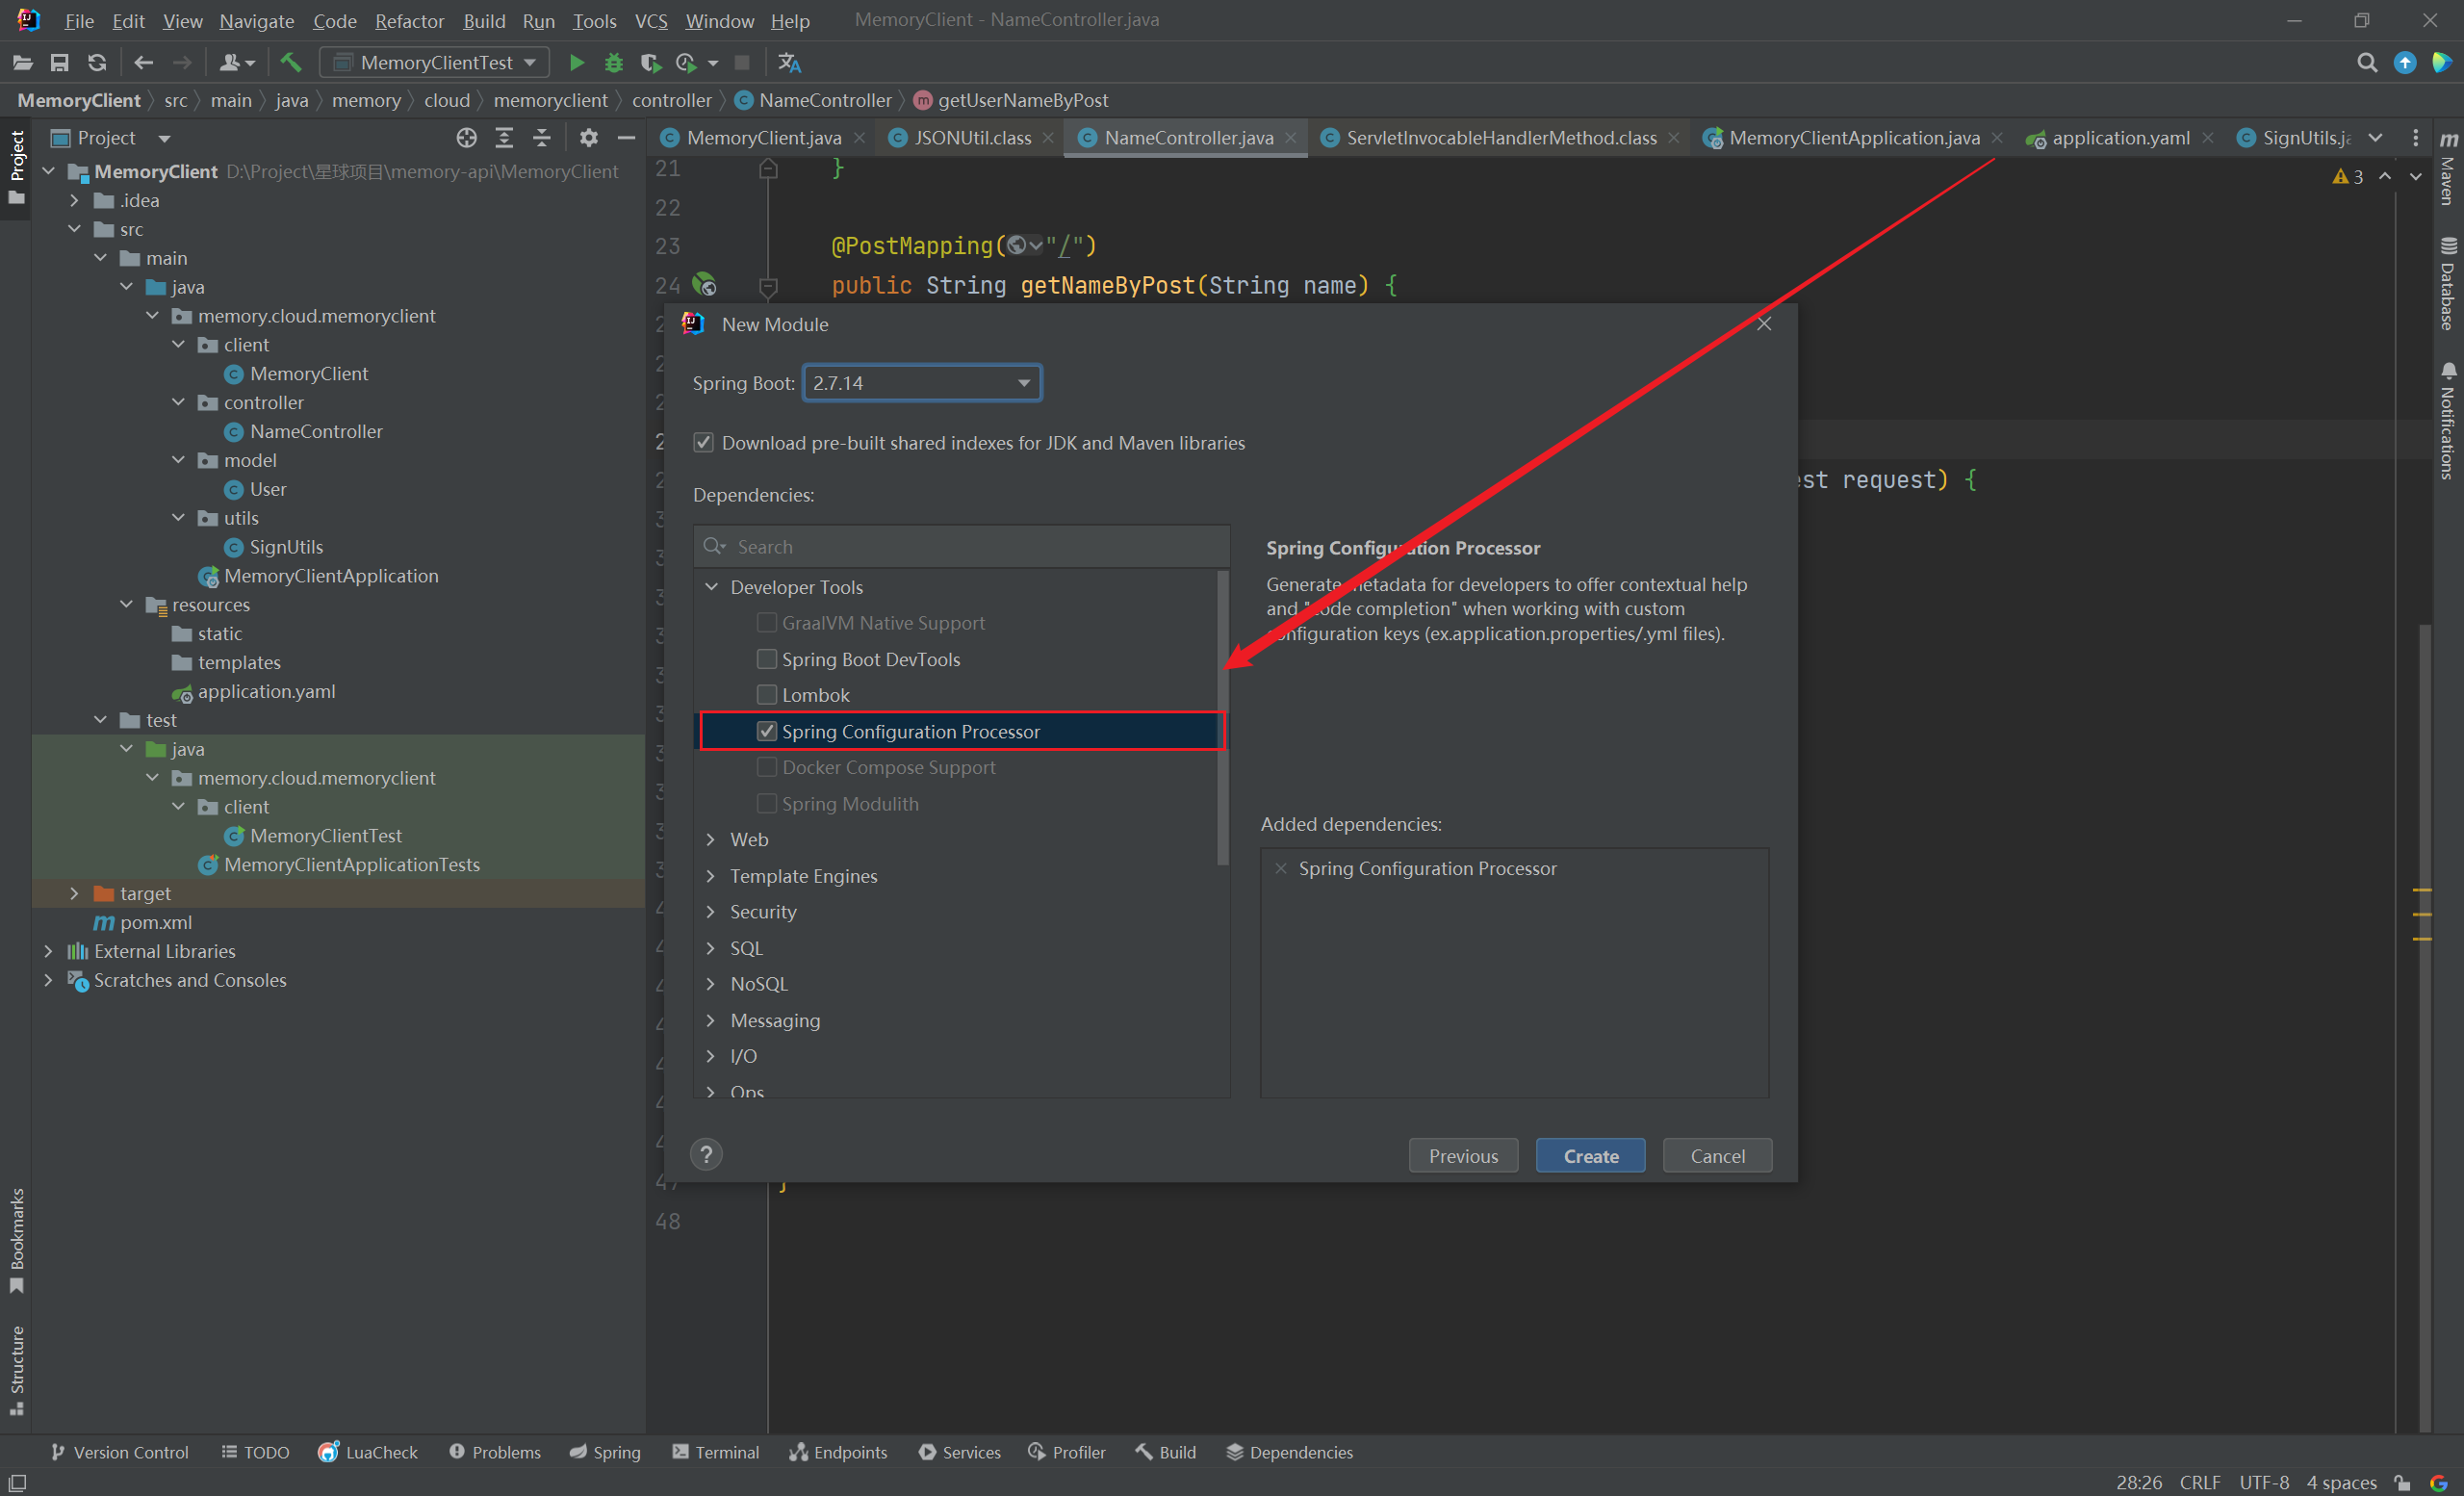
1
| Spring Configuration Processer
|
移除build,否则会报错(可选择性移除test依赖):


1
2
3
4
5
6
7
8
9
10
11
12
13
14
| @Configuration
@ConfigurationProperties("memory-api.client")
@Data
@ComponentScan
class MemoryClientConfig {
private String access_key;
private String secret_key;
@Bean
public MemoryClient memoryClient(){
return new MemoryClient();
}
}
|
1
2
|
org.springframework.boot.autoconfigure.EnableAutoConfiguration=com.memory.clientsdk.MemoryClientConfig
|
1
2
3
4
5
| <dependency>
<groupId>com.memory</groupId>
<artifactId>memory-client-sdk</artifactId>
<version>0.0.1</version>
</dependency>
|
1
2
3
4
| memory-api:
client:
access-key: memory
secret-key: 12345678
|
1
2
3
4
5
6
7
8
9
10
11
12
13
14
15
| @SpringBootTest
class MemoryClientApplicationTests {
@Resource
private MemoryClient memoryClient;
@Test
void contextLoads() {
System.out.println("成功了");
memoryClient.getNameByGet("邓哈哈");
memoryClient.getNameByPost("邓嘻嘻");
User user = new User("邓尼玛");
memoryClient.getUserByPost(user);
}
}
|
踩坑经历
测试类上方要添加 @SpringBootTest 注解
Spring Boot 版本问题
- 之前做这个,没有考虑到 Spring Boot 的版本问题(2024/01/08早)
- 在 Spring Boot 2.x 中,在 resource/META-INF/spring.factories 文件下,添加如下配置来标记自动配置类:
1
| org.springframework.boot.autoconfigure.EnableAutoConfiguration=com.example.starter3.NameAutoConfiguration
|
- 而在 Spring Boot 3.x 中,在 resource/META-INF/spring/org.springframework.boot.autoconfigure.AutoConfiguration.imports 文件下,添加如下配置:
1
| com.example.starter3.NameAutoConfiguration
|
总结